Update 10-15/2024 Not sure if I will ever get this Commoner’s Camper page organized. So much has been going on. But I will say this. Jeff and I finally got to test her out on the road – on a 2 hour drive to Silver Springs, FL, our new home. Everything went great! Praise God! She pulls nicely.
Update: 6-16-2024 Jeff and I have had a lot on our plates, but we have not forgotten about this little camper project. The plan now is to redecorate and paint it with a tropical theme to include our Blue Petra logo in the hopes of advertising our Wall Art / Mural business. When this has been accomplished, God willing, we will then update and organize and streamline the instructions and gallery on this page. Please check back periodically! But please feel free to reach out to us with any questions or inquiries you may have in the mean time. Have a great day and thanks for stopping by!
*********************************************************************************************************************************
She’s not perfect, but she’s good enough for the likes of us commoners!
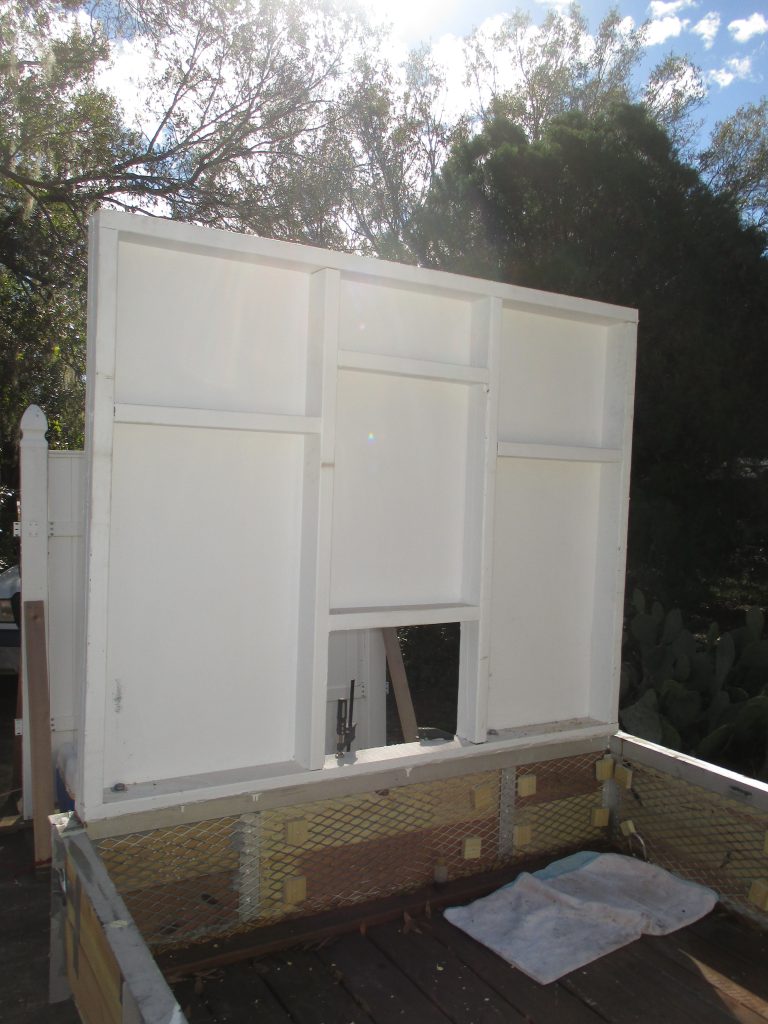
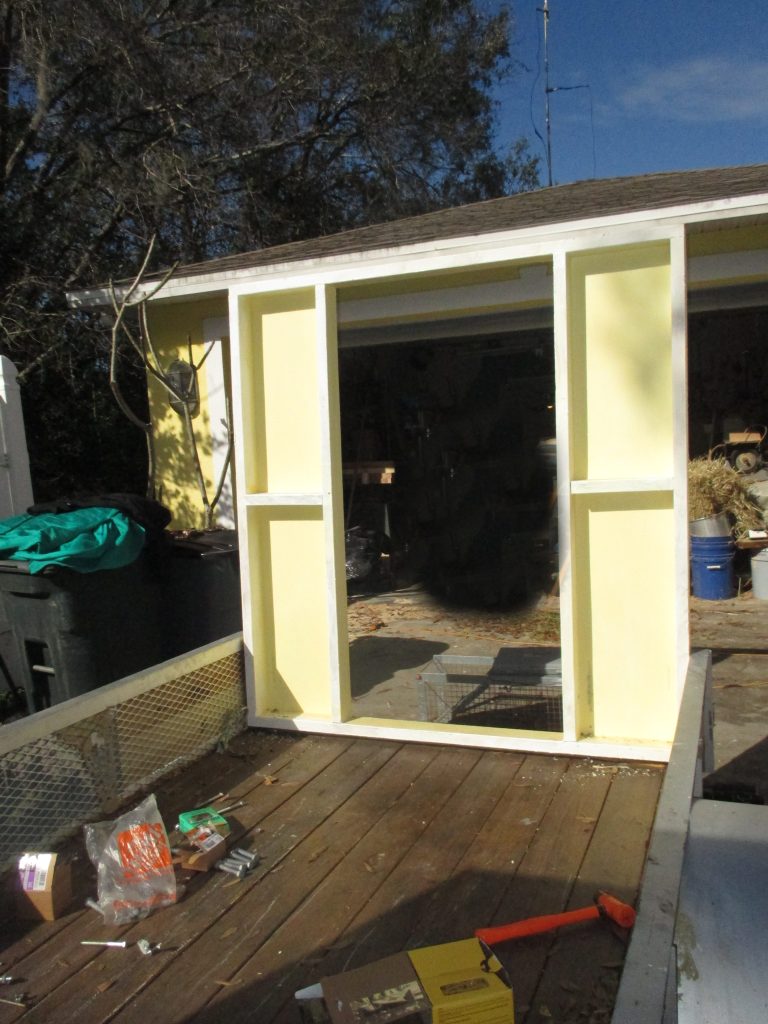
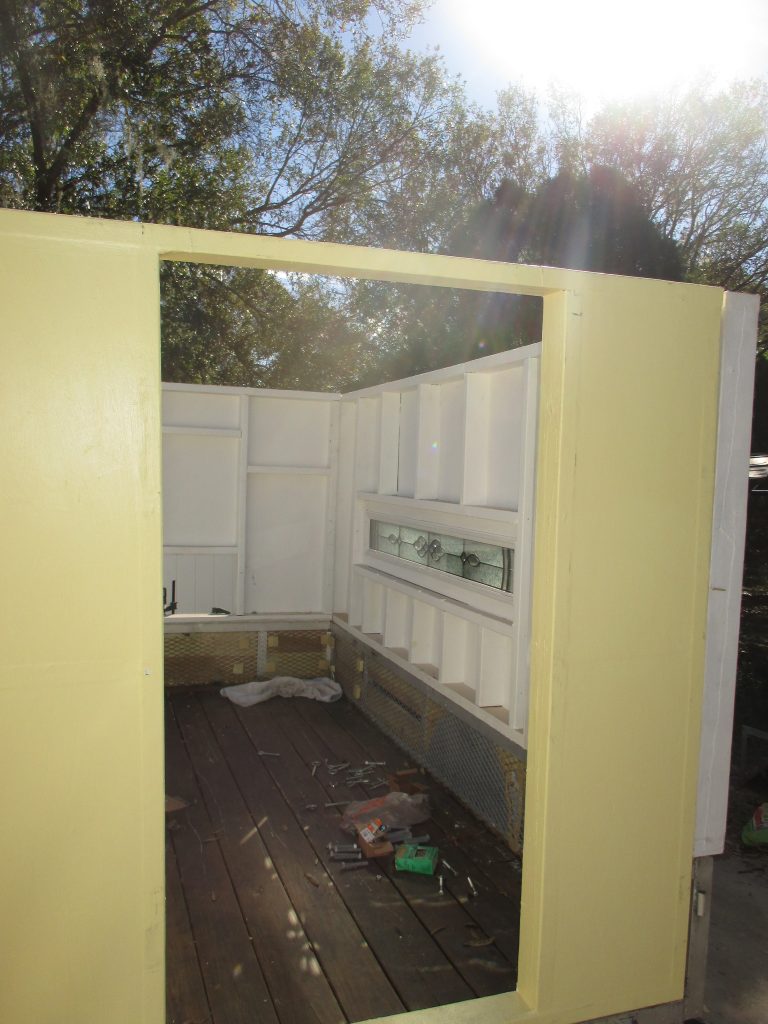
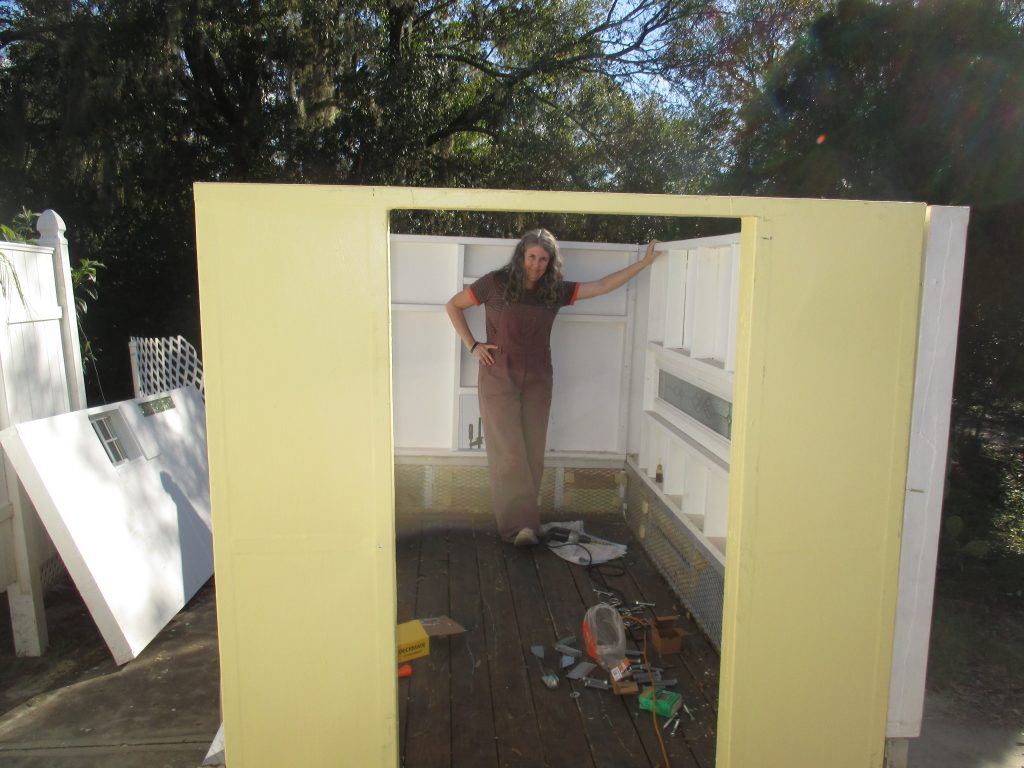
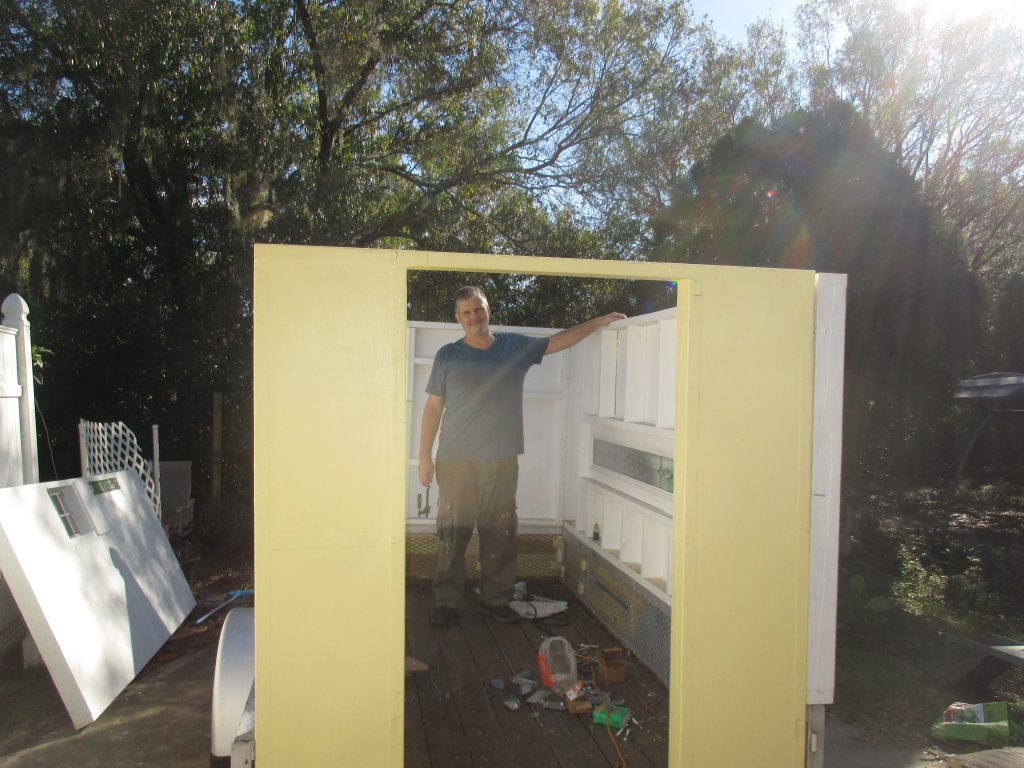
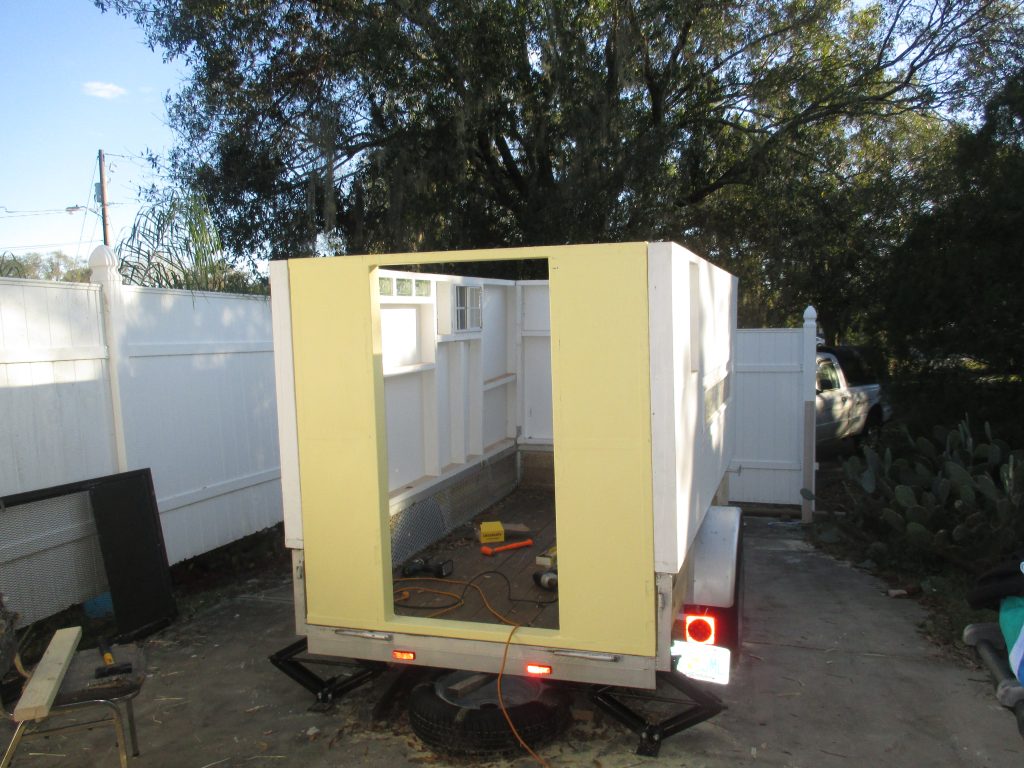
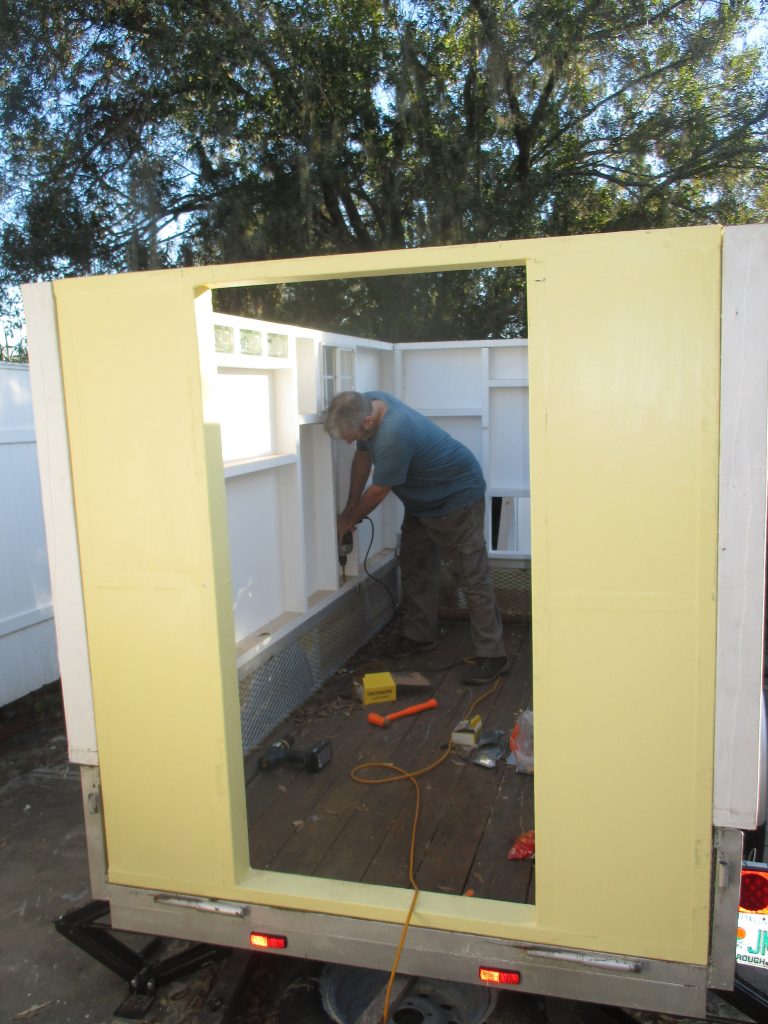
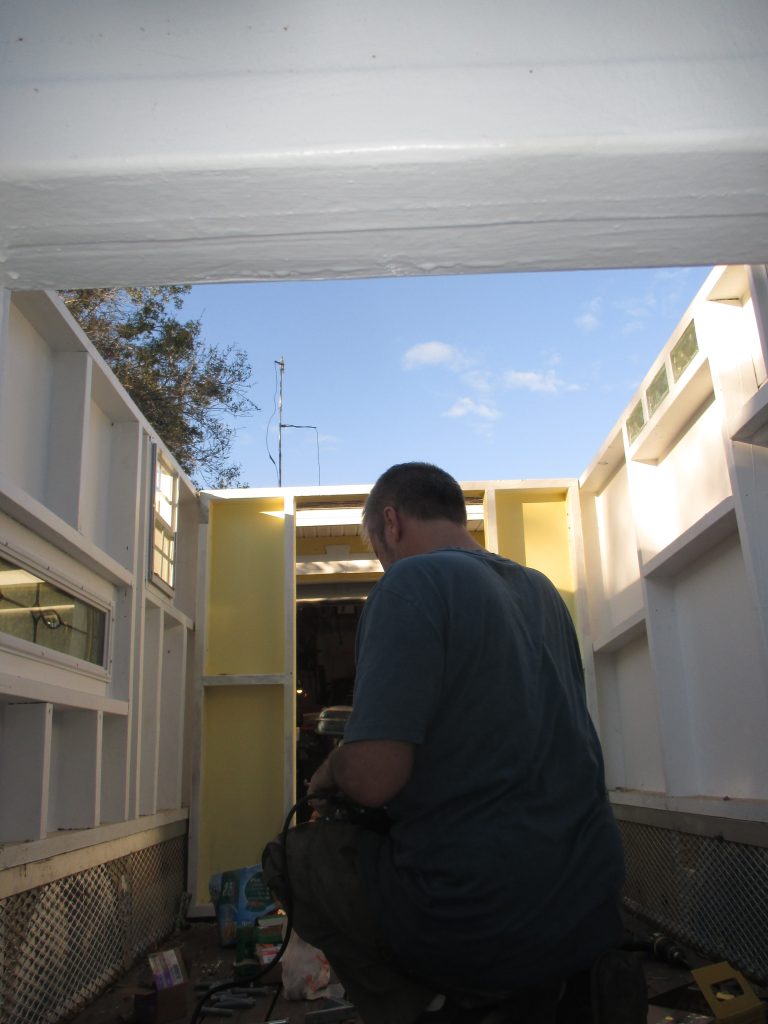
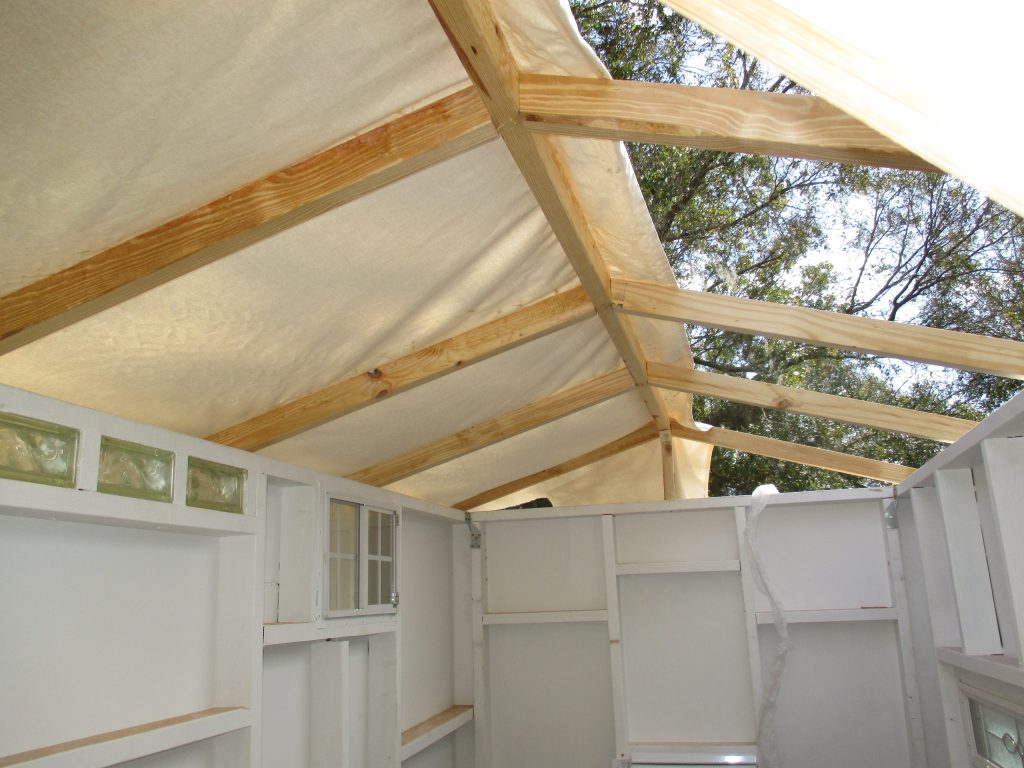
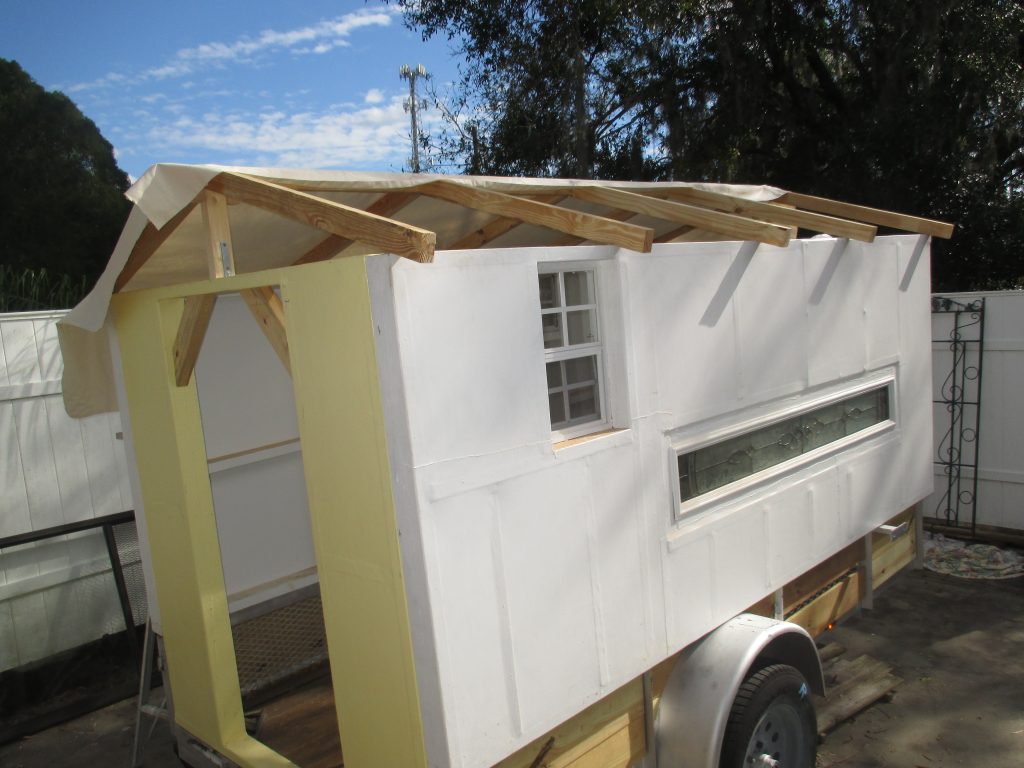
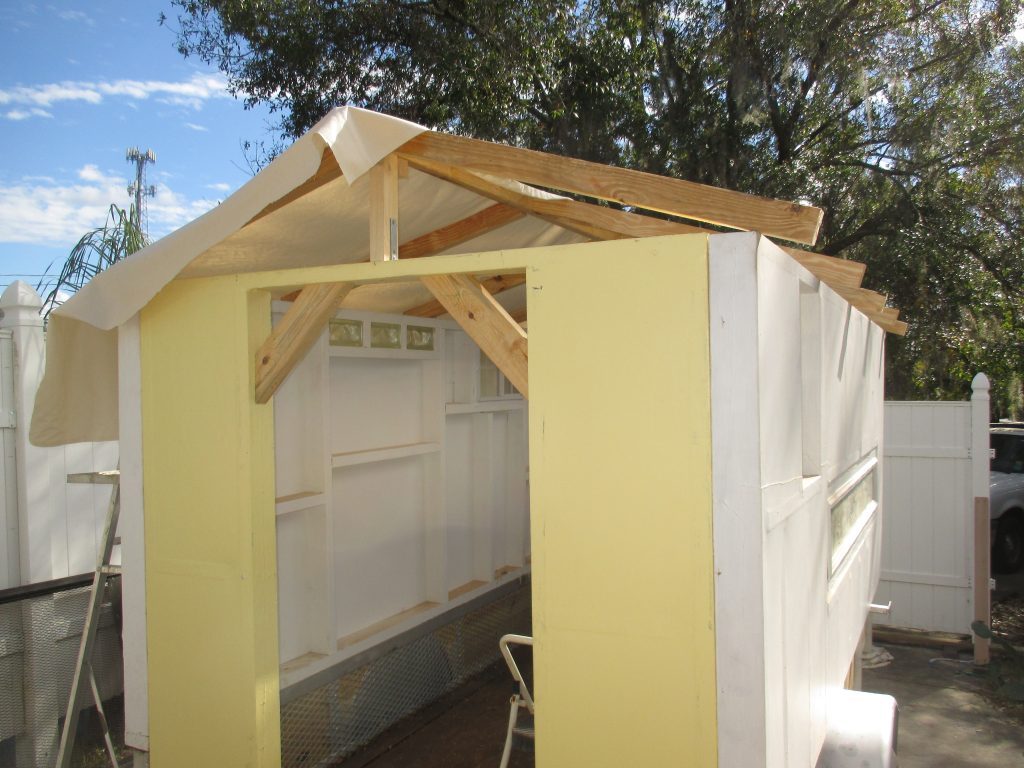
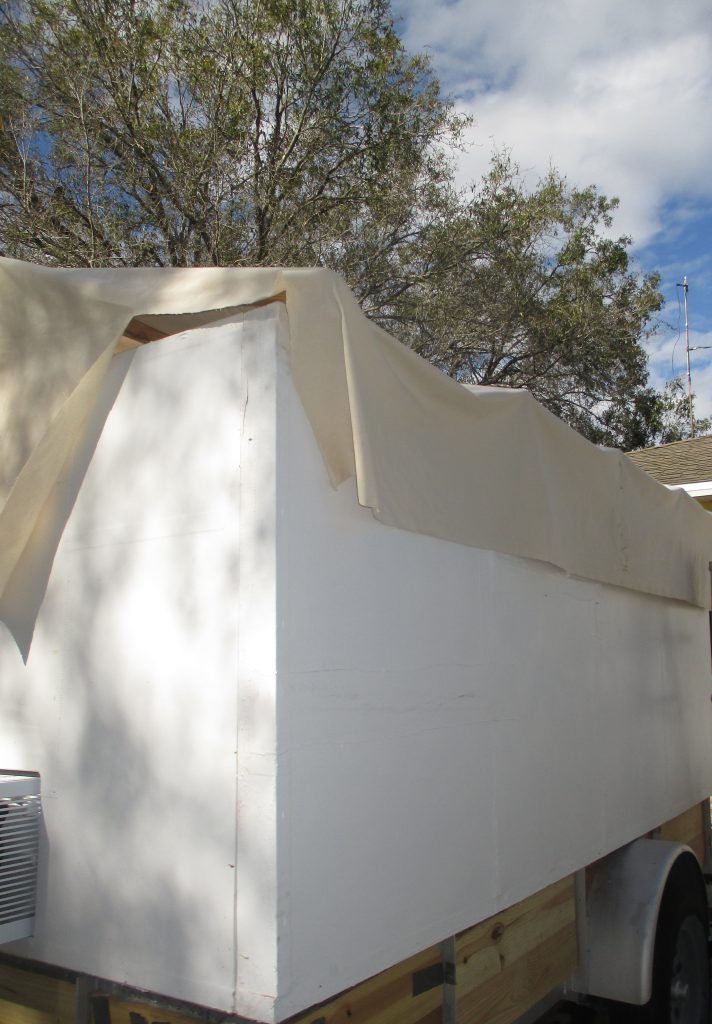
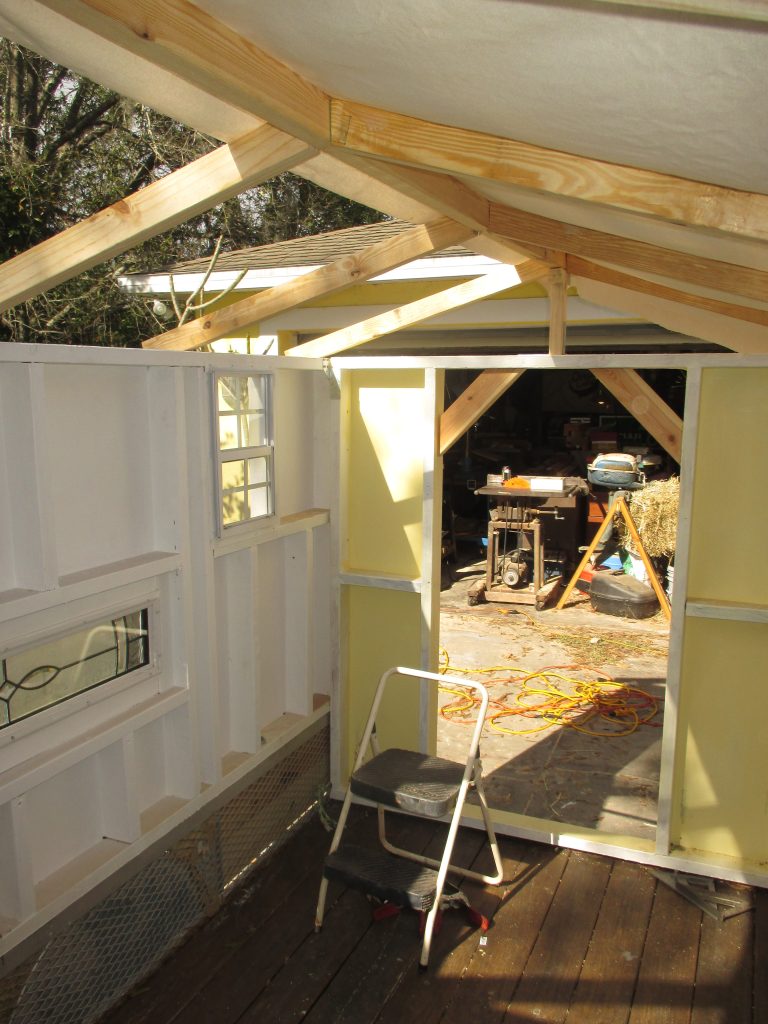
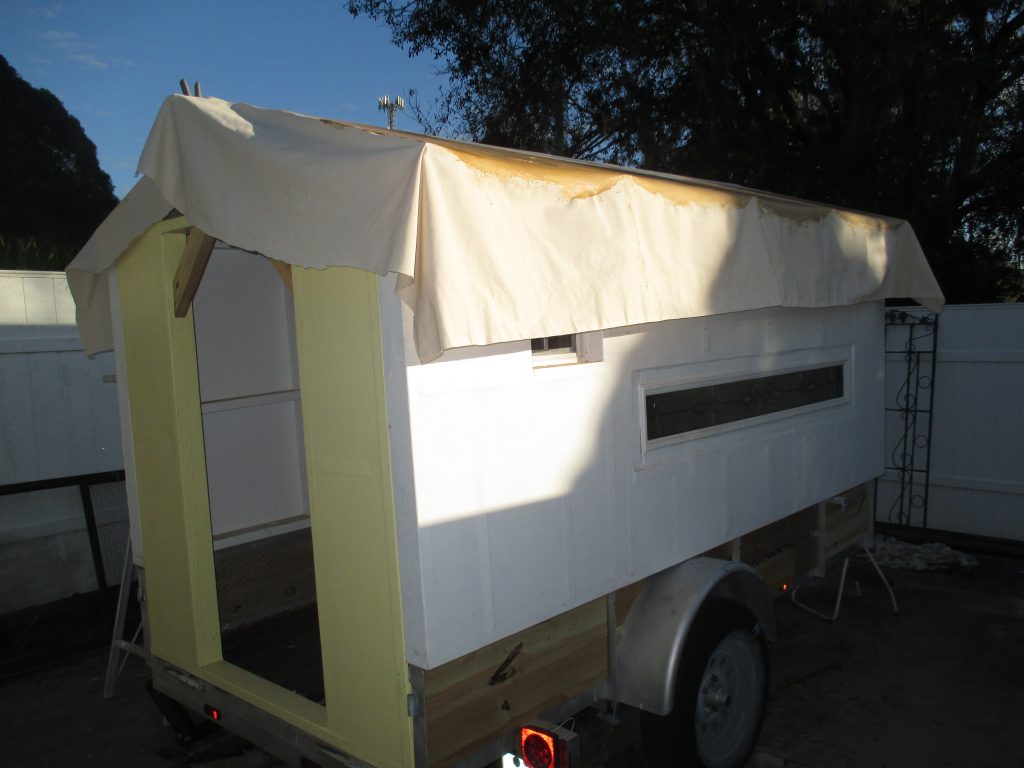
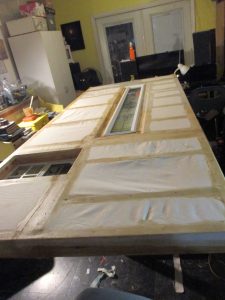
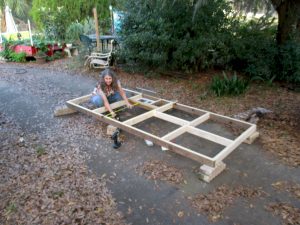
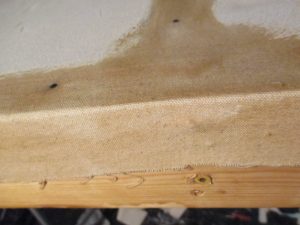
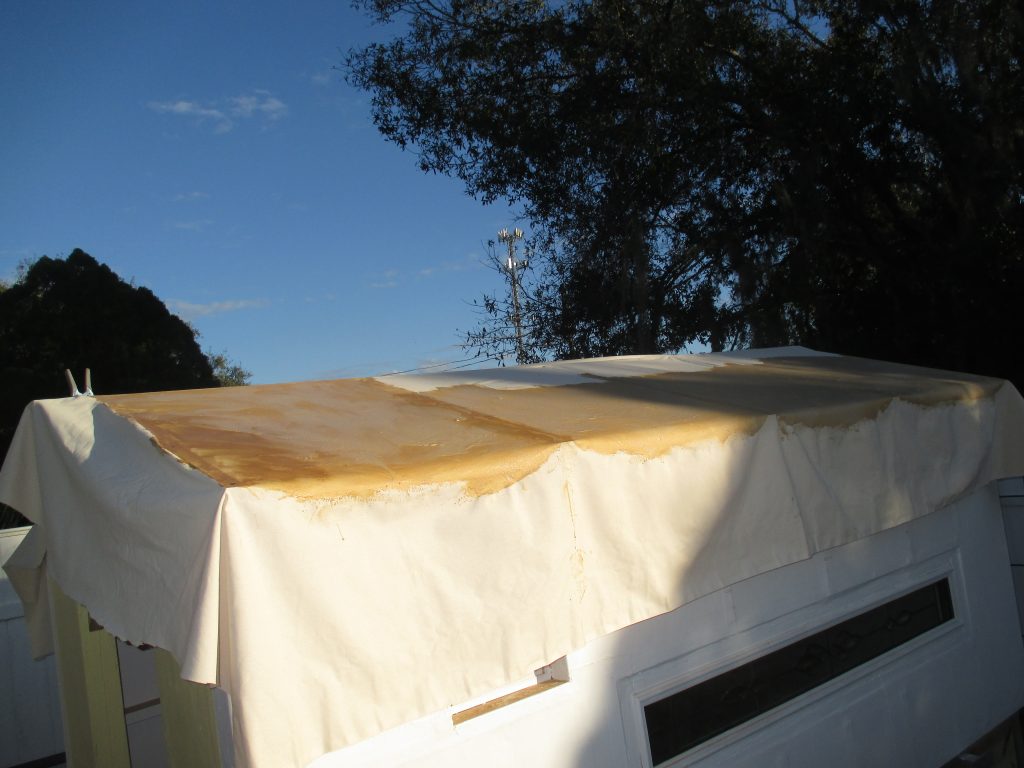
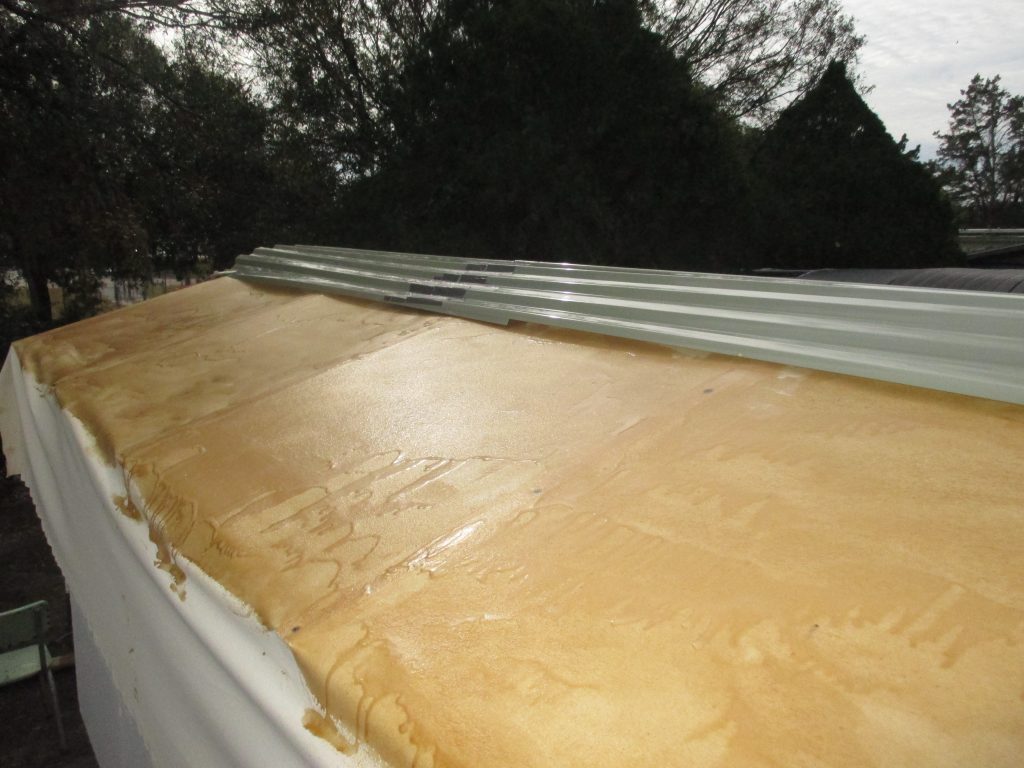
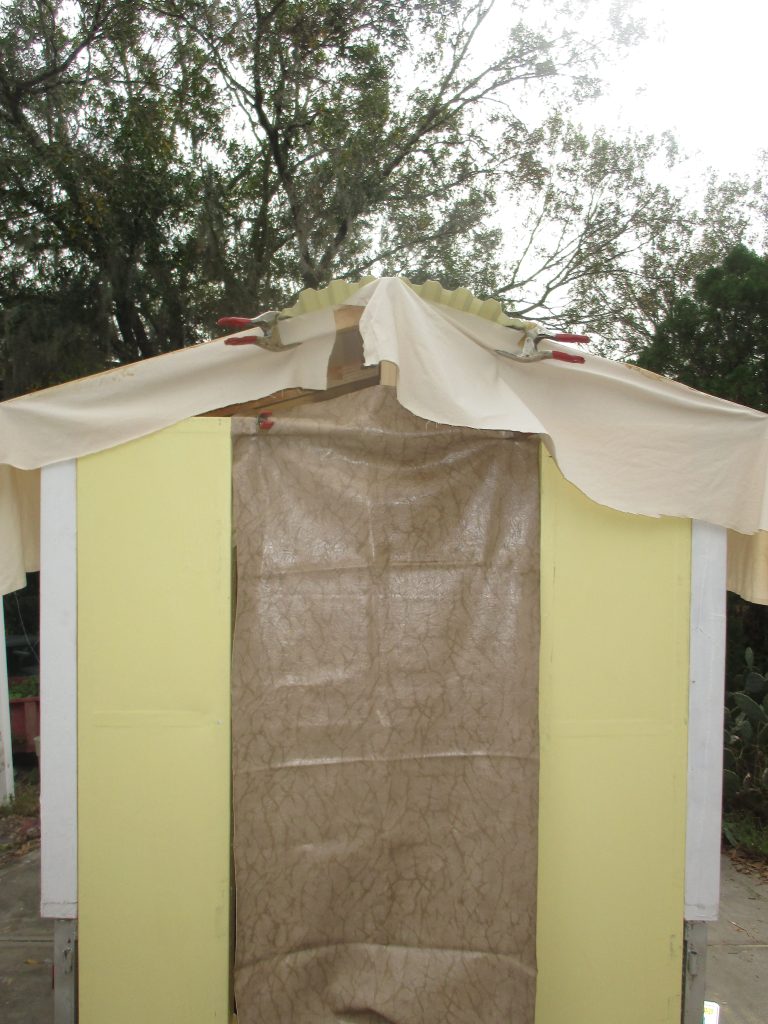
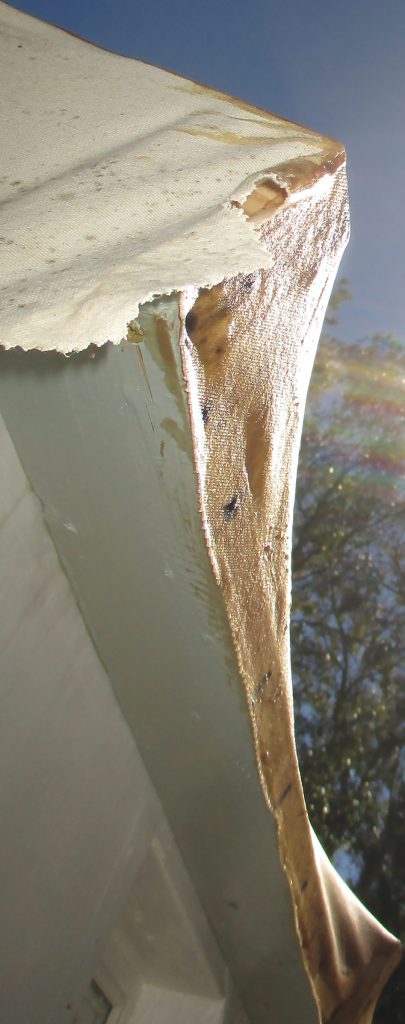
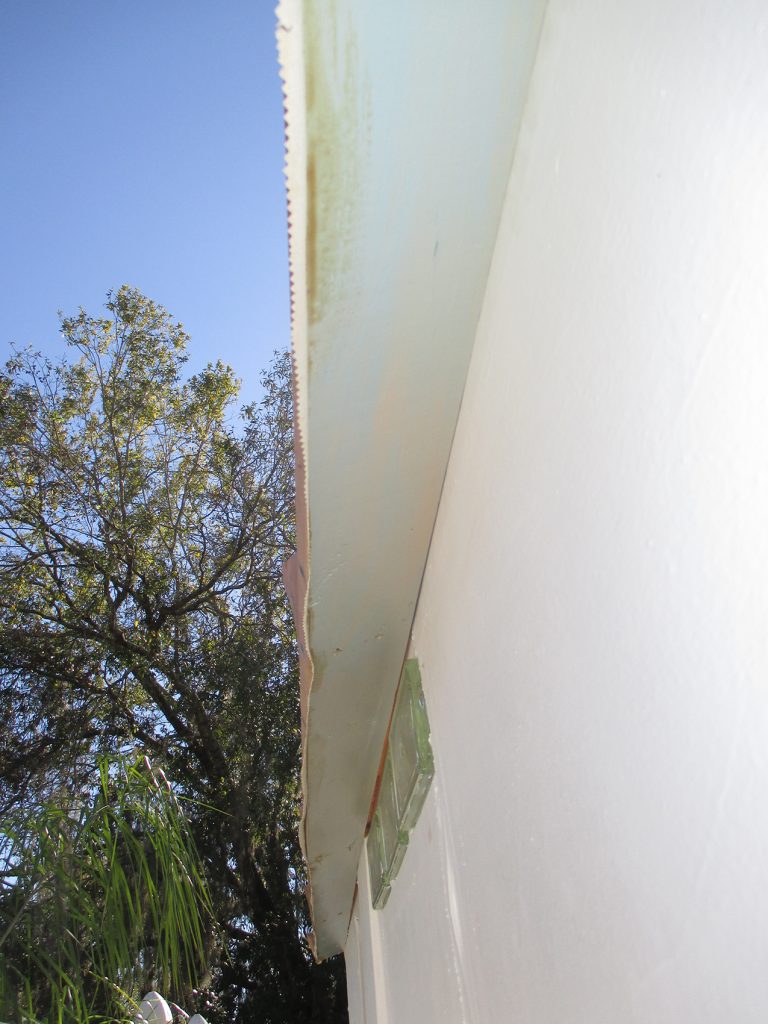
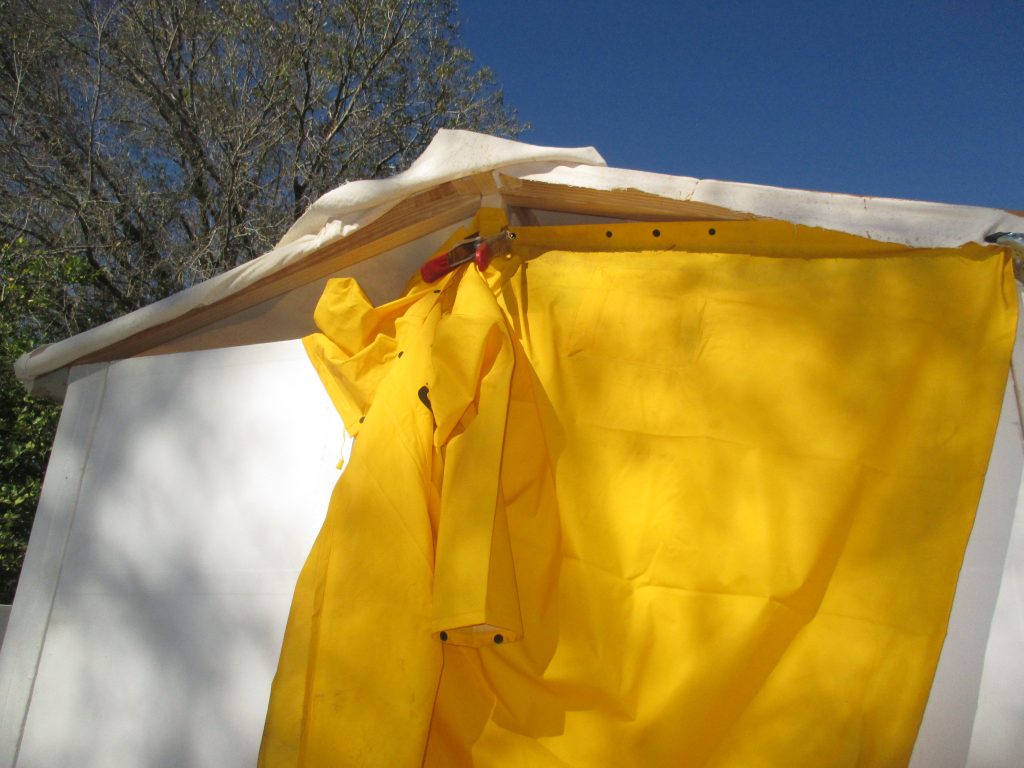
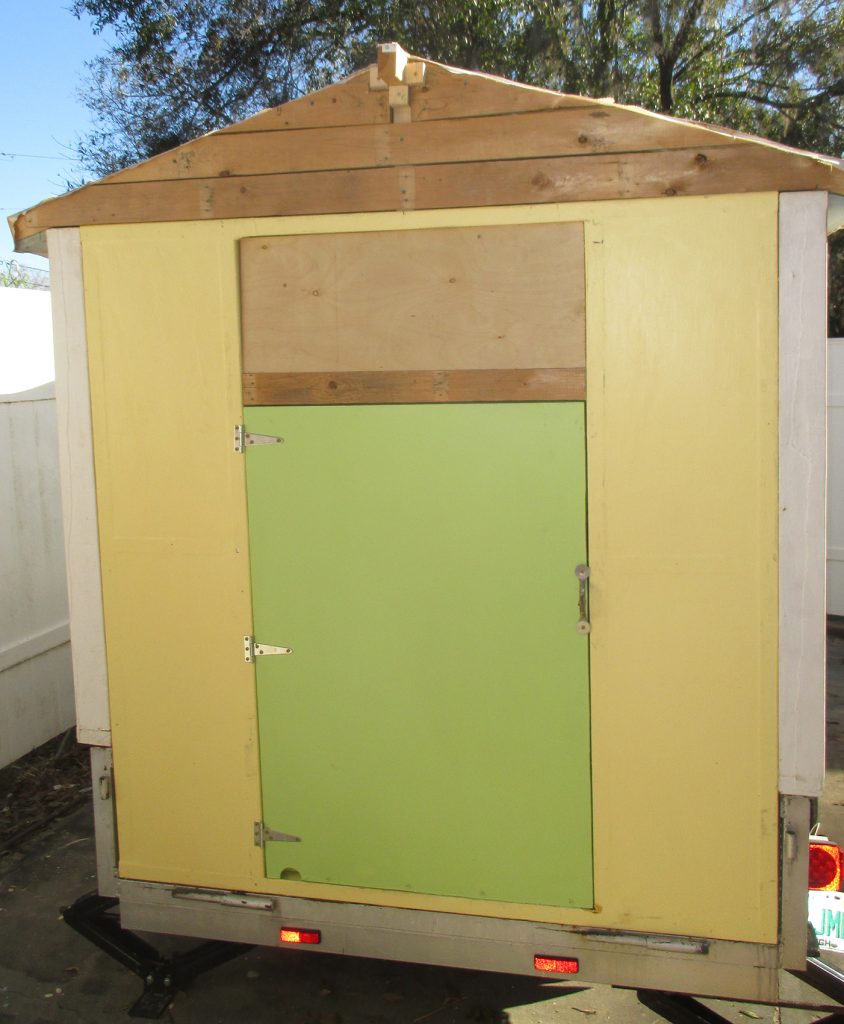
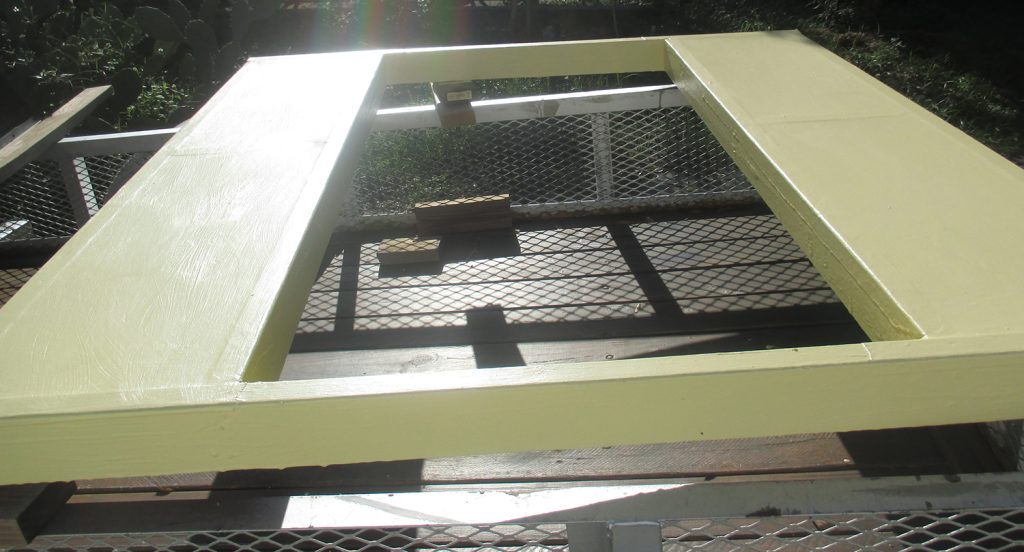
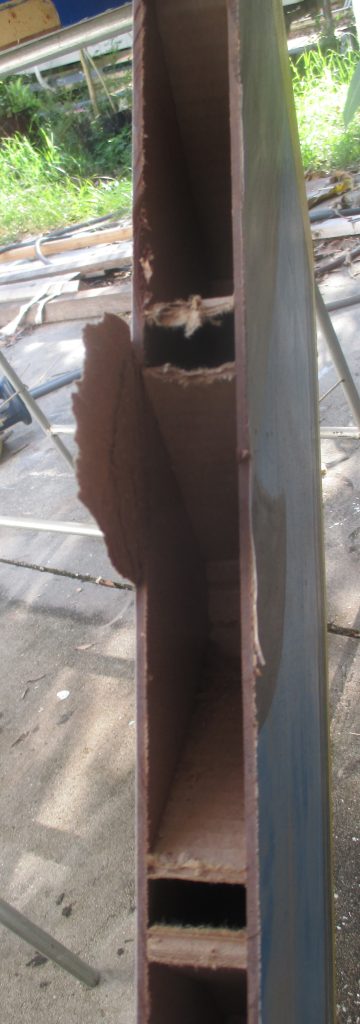
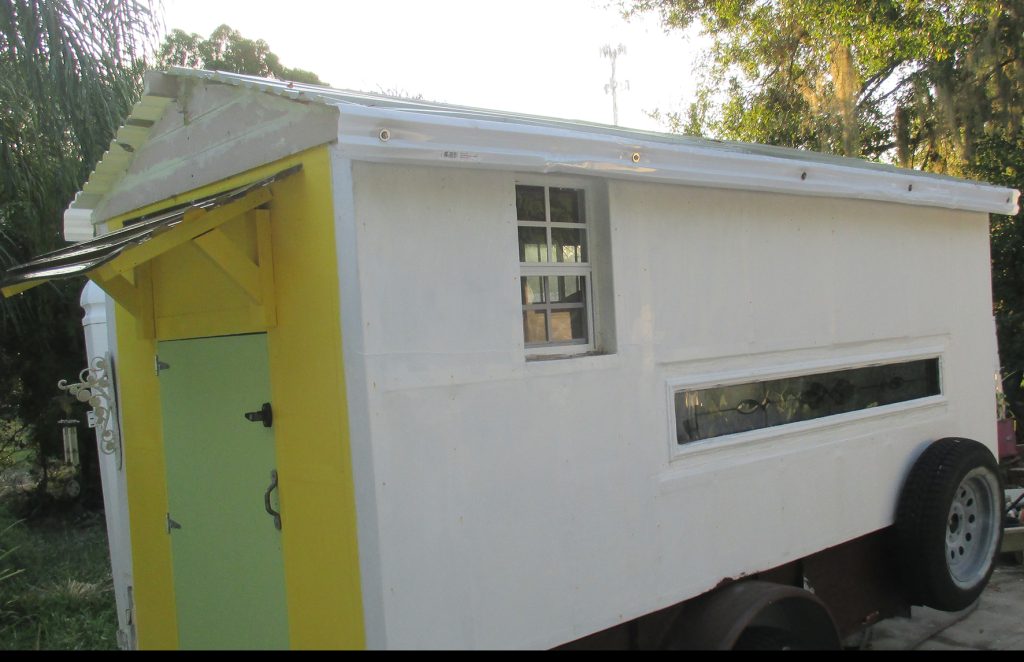
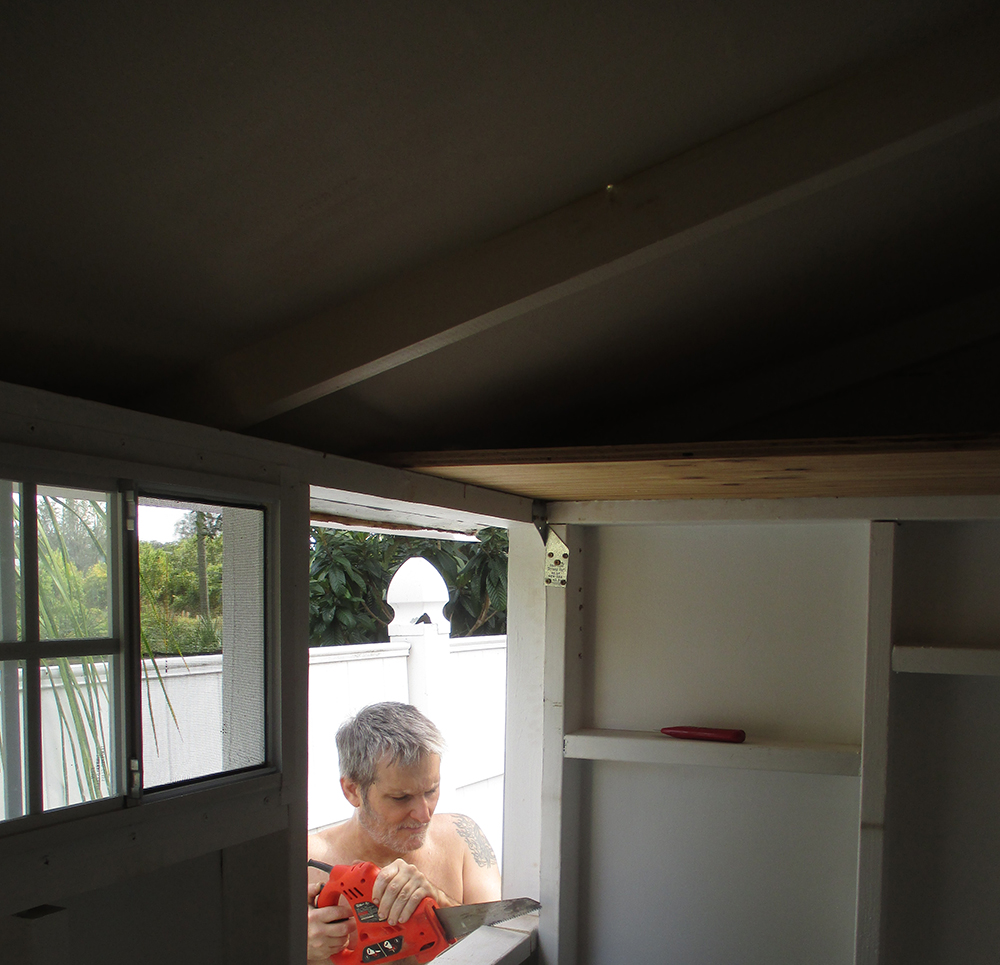
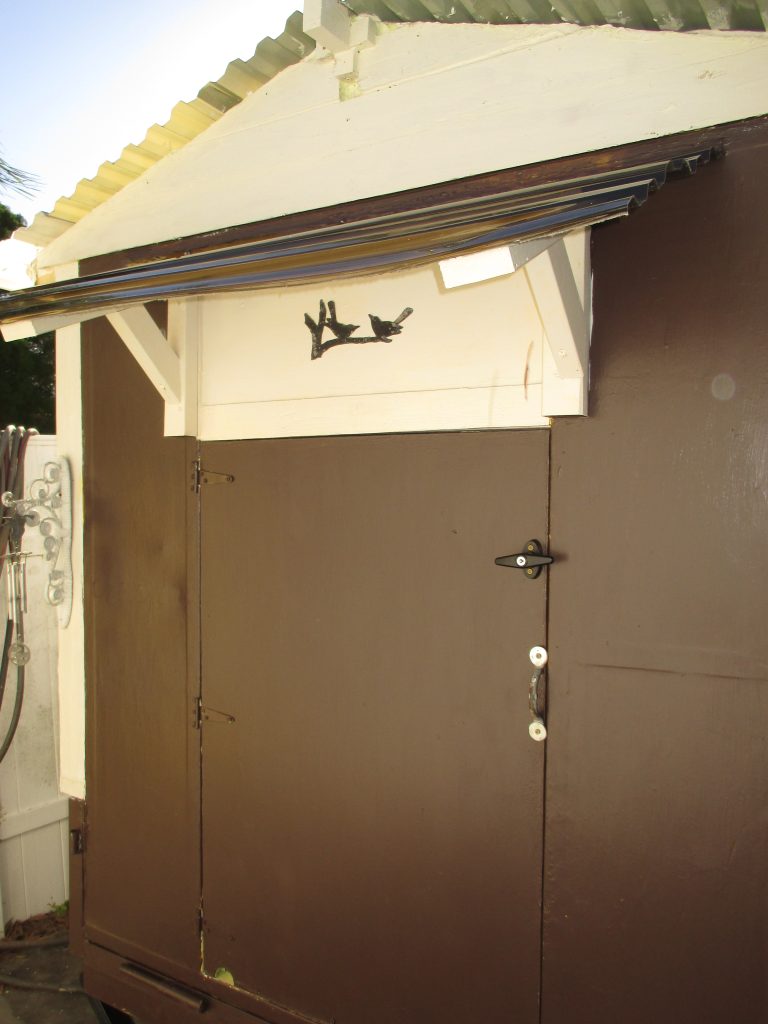
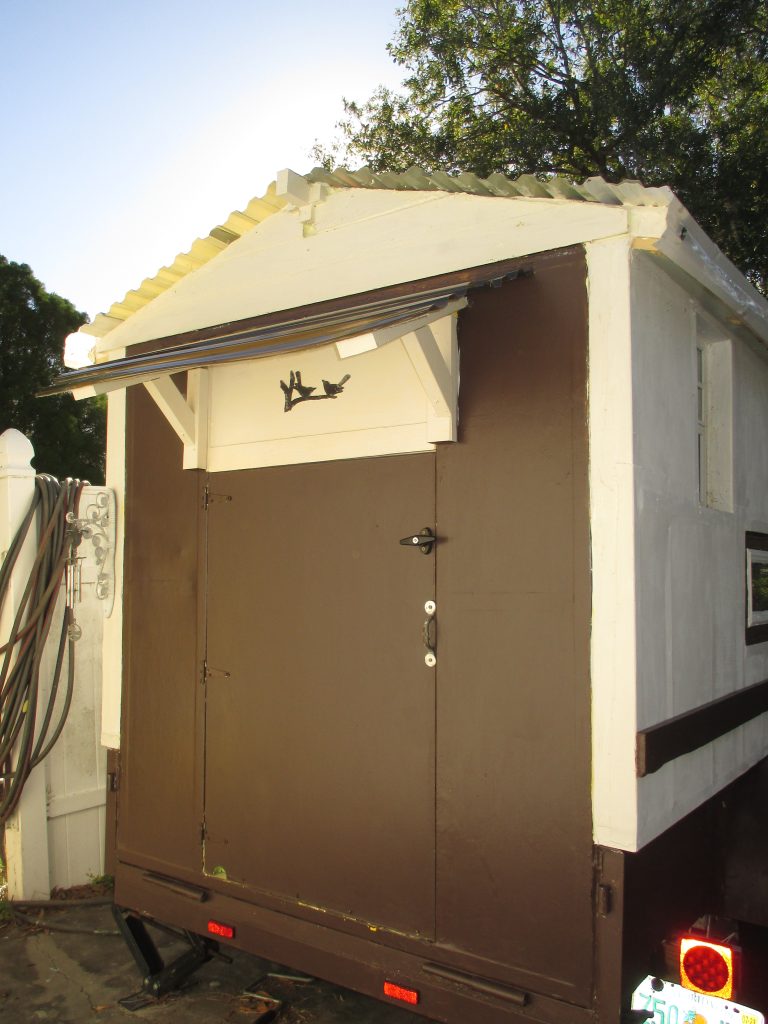
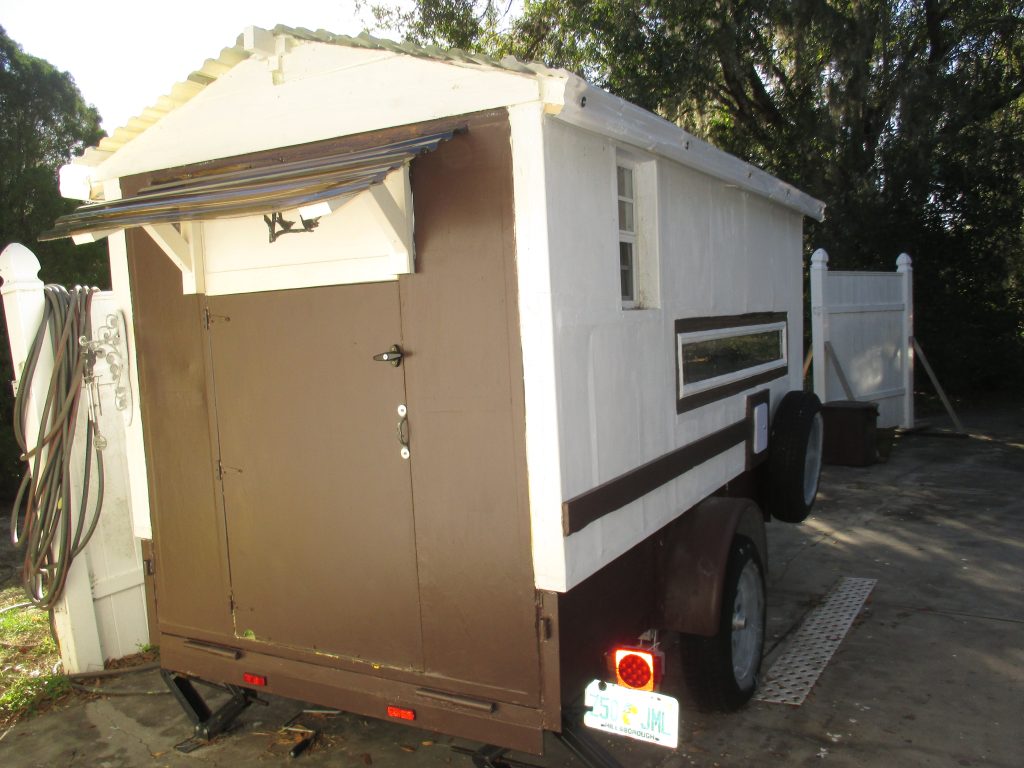
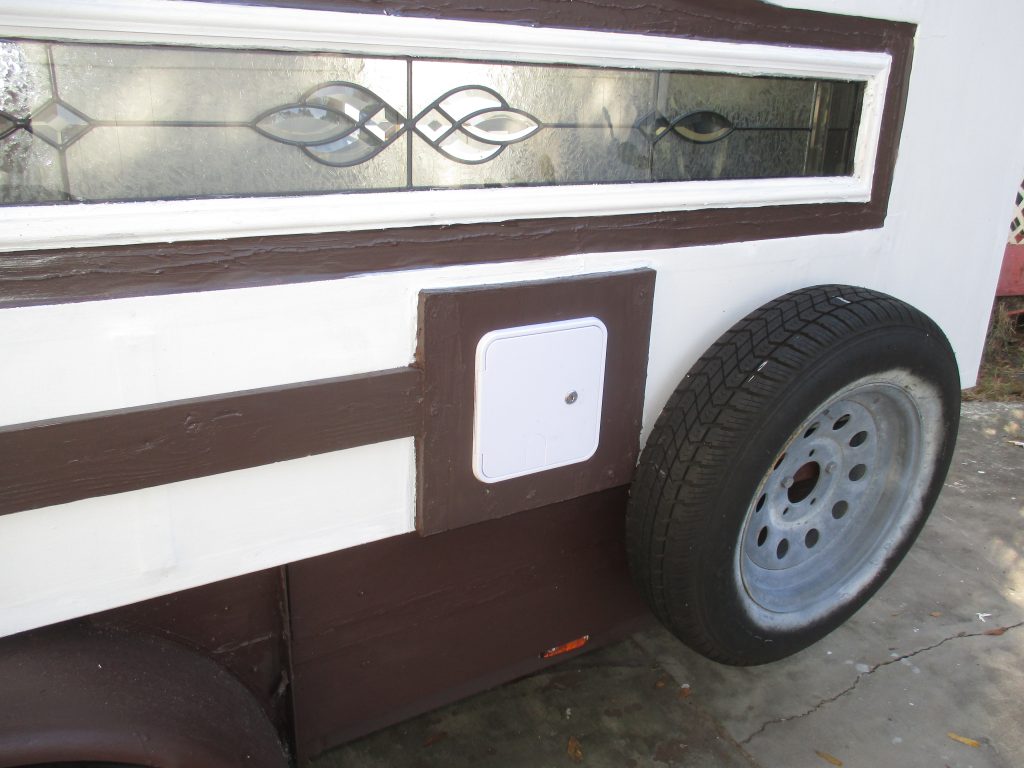
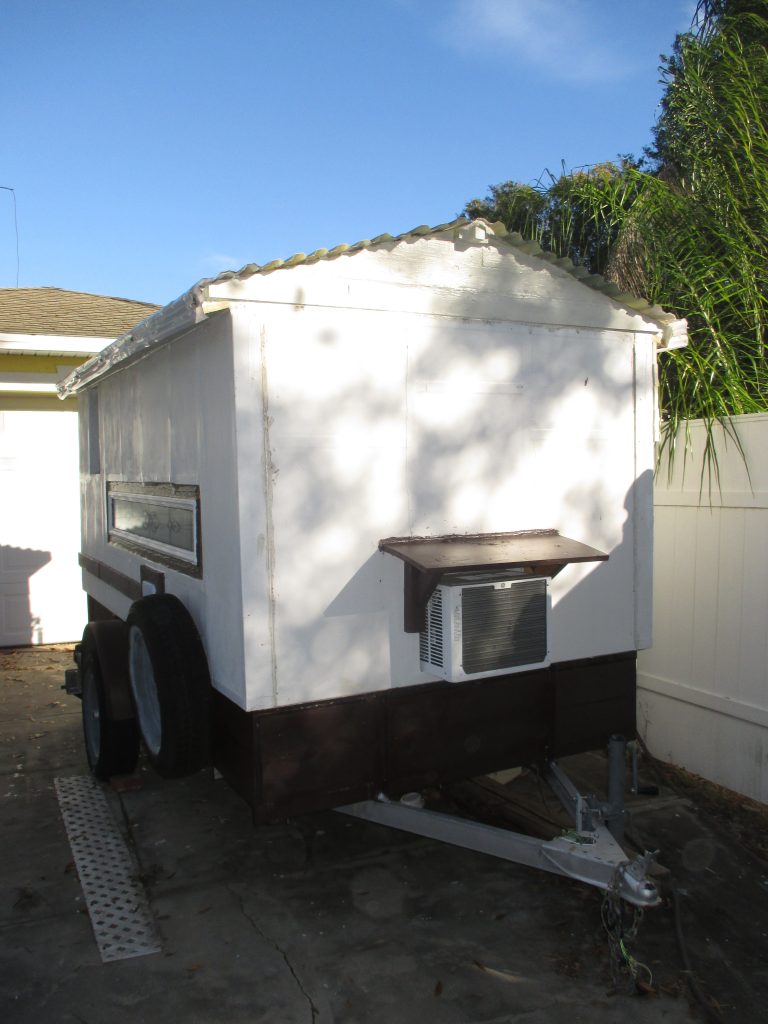
These next several images are of a camper that Jeff and I have been in the process of building. It is basically done at this point, with just a few minor things left to do. It is made of untreated 2 x 4s and poor boy fiberglass (canvas fabric and Titebond III Wood Glue). I built the 4 frame walls and Jeff built the roof frame. There have been campers built by others using foam board and poor boy fiberglass but I chose not to go the route of the foam board because ants LOVE foamboard. Keep in mind, this is a “camper,” and as such, it’s not meant to be seriously used like a motorhome would be used – as a place to live. Instead, this camper design is conducive for having fun and light-hearted camping where the campers are not necessarily roughing it, but also not sleeping in a mobile apartment!
The idea for this project started in 2019-2020 with many obstacles along the way and soon thereafter – including one pandemic, one lumber price hike, and of course, the Great Toilet Paper Scare of 2020, which caused a great division in the land. But Jeff and I persevered. Praise be to God! We will eventually include instructions and more descriptive info once the camper is completely finished. The hope is that this project will serve as inspiration and a guide on how to piece meal a low cost camper together if you’re not financially able to buy a new one or a custom built one. It is also a camper that one can easily fix if damaged or if a leak presents itself. It’s a no fuss, no muss camper, meaning it’s not meant to be a show stopping, eye popping piece of perfection. It’s meant for commoners like us to camp in – an affordable, simple way to enjoy the great outdoors. ***Disclaimer*** As hopeful and promising as this project is, it is still an experiment, so I do not recommend following this path just yet, until we have had time to test her out in different sorts of conditions, and to write up the findings.
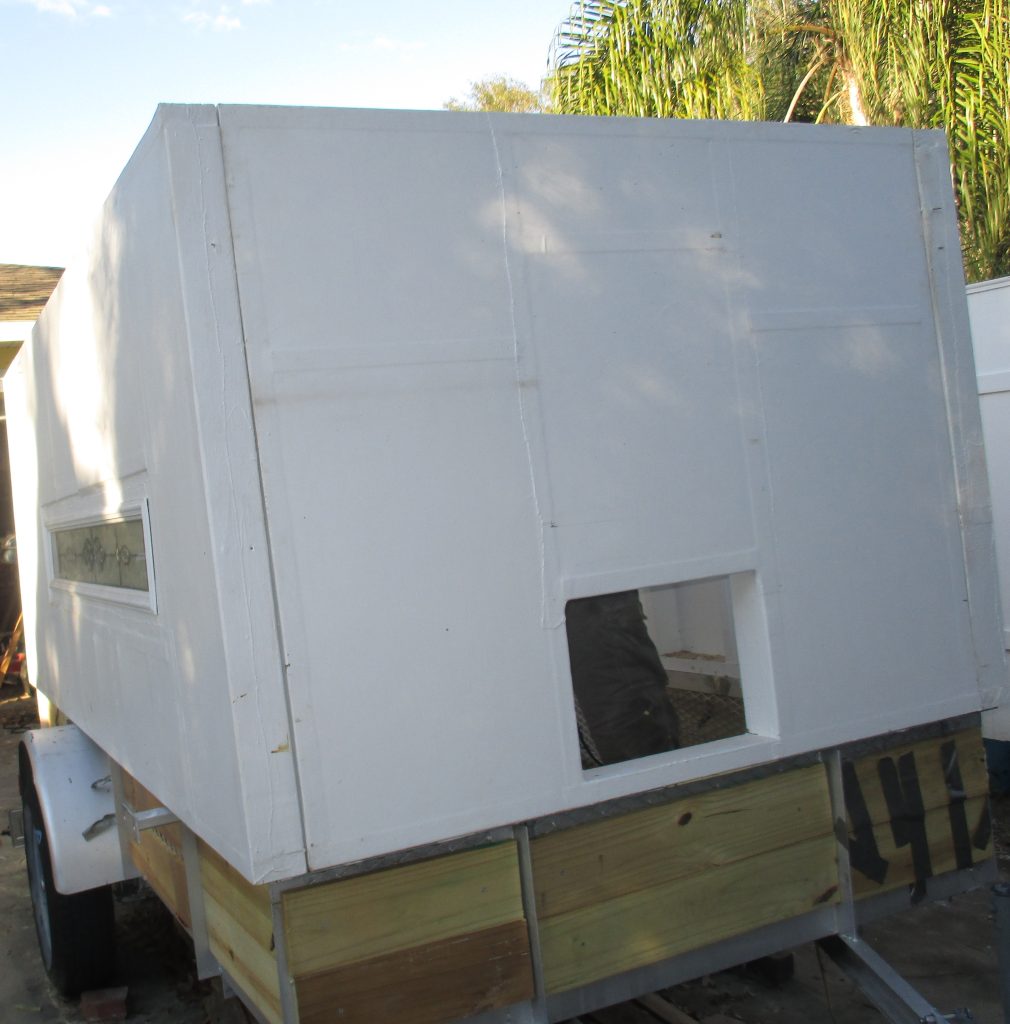
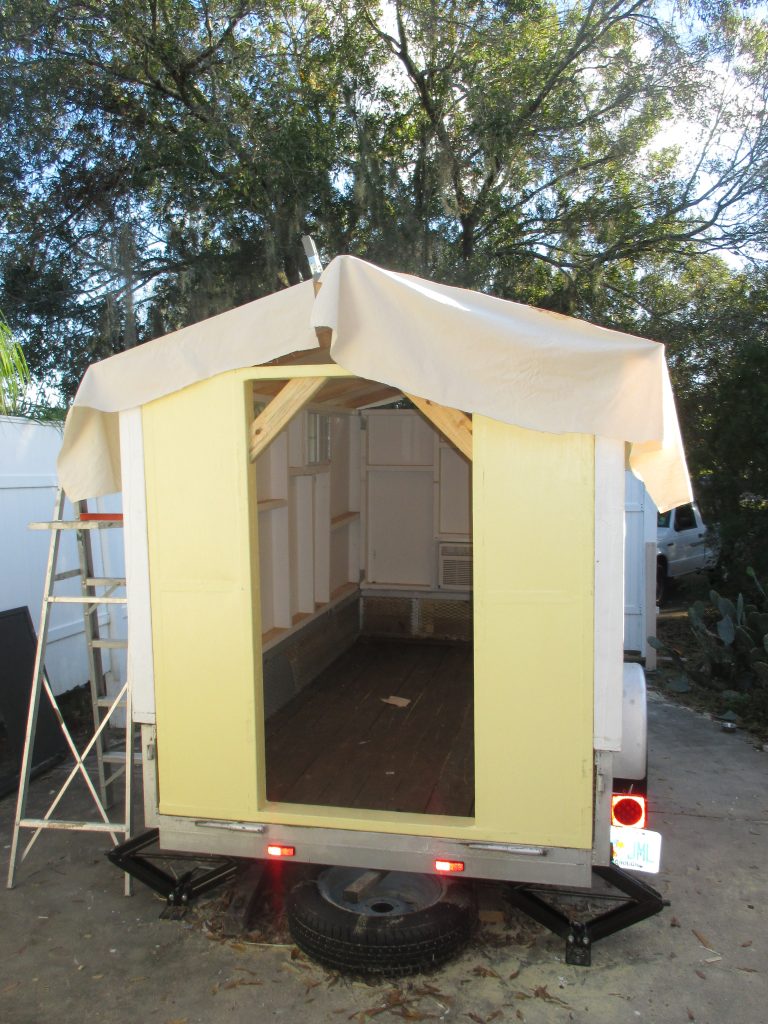
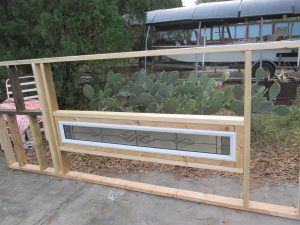
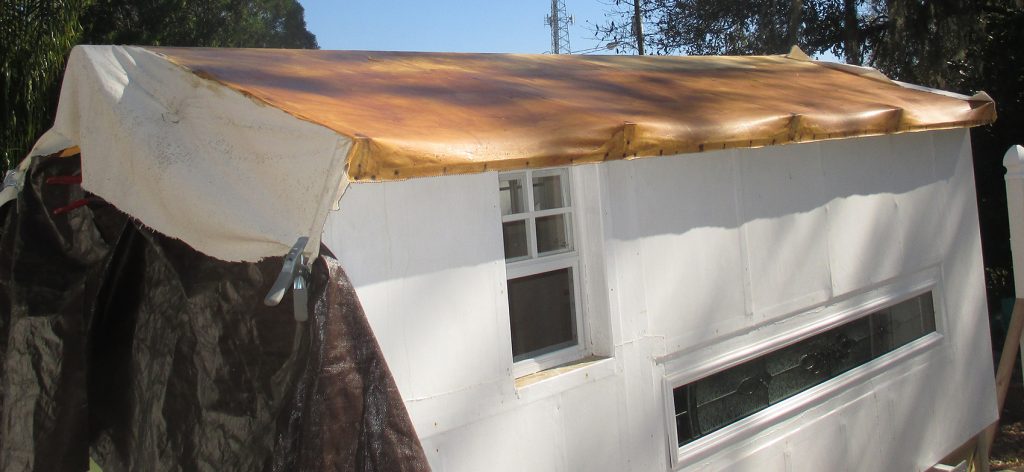
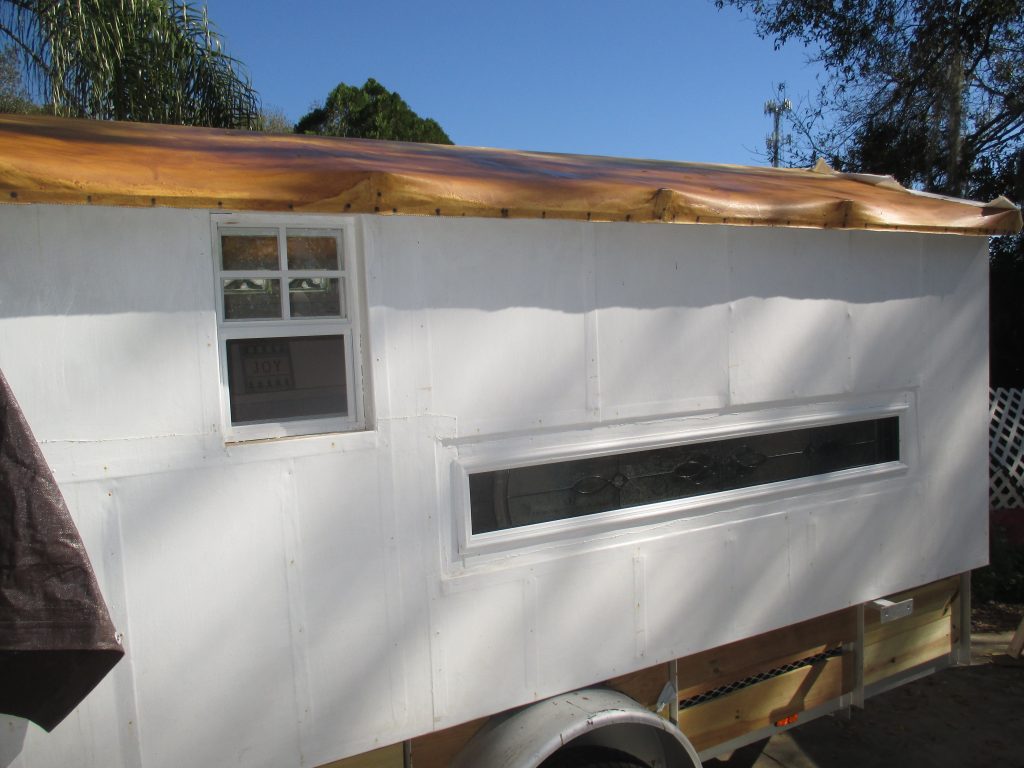
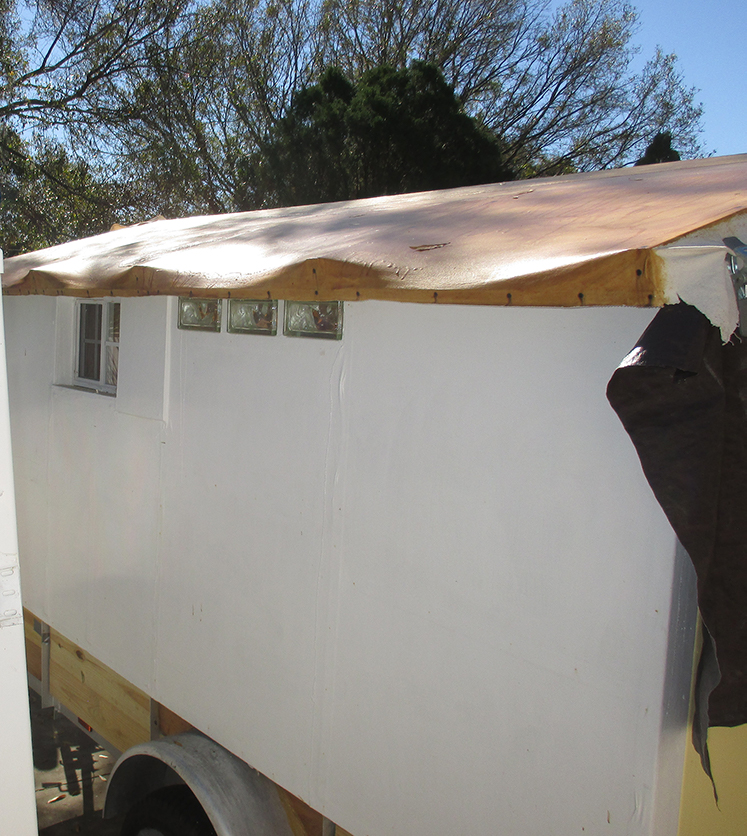
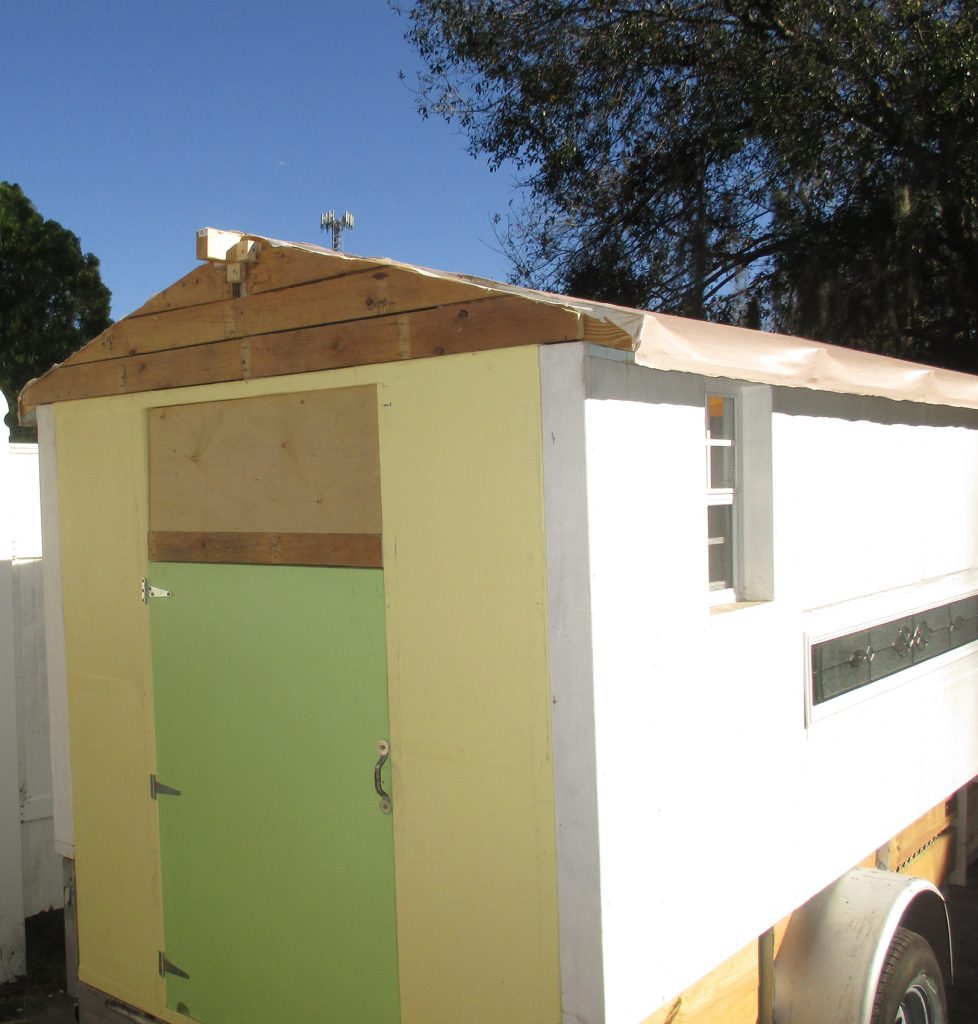
12/6/2023 UPDATE: Getting closer to finishing – will hopefully finish soon and then this dedicated page will have all info/instructions added and will be organized. Posted the most recent pictures today – you can see them if you scroll to the bottom. We’ll hopefully have a better photo gallery system in place soon. We decided to go with a Dutch theme and to keep it pretty plain on the outside, so as not to attract too much undesired attention.
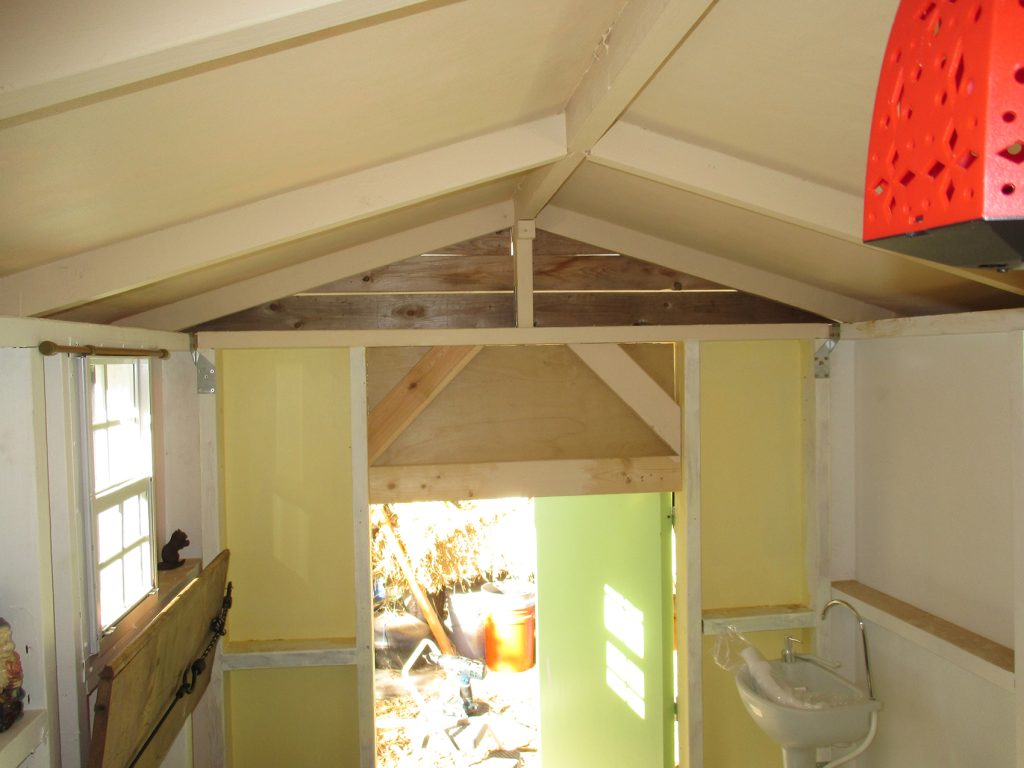
1/28/24 UPDATE: Decorated interior photos now posted at the very bottom. Looking forward to organizing this page soon with a better theme and gallery, and detailed/organized information on process.


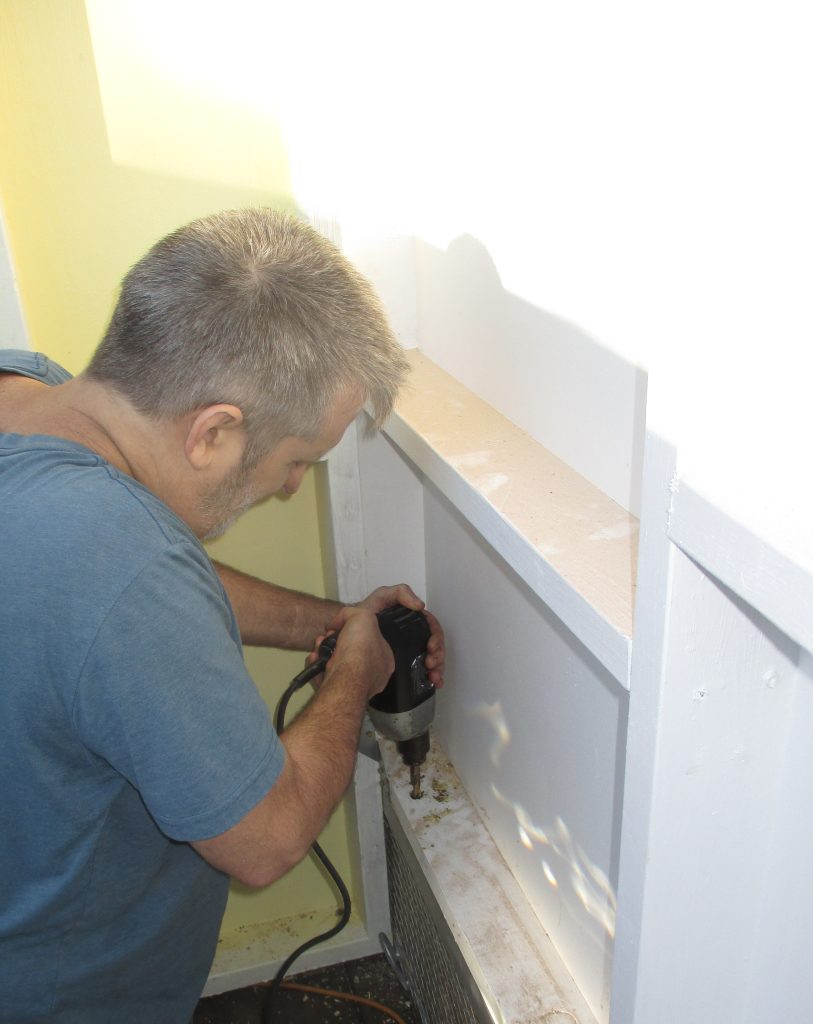
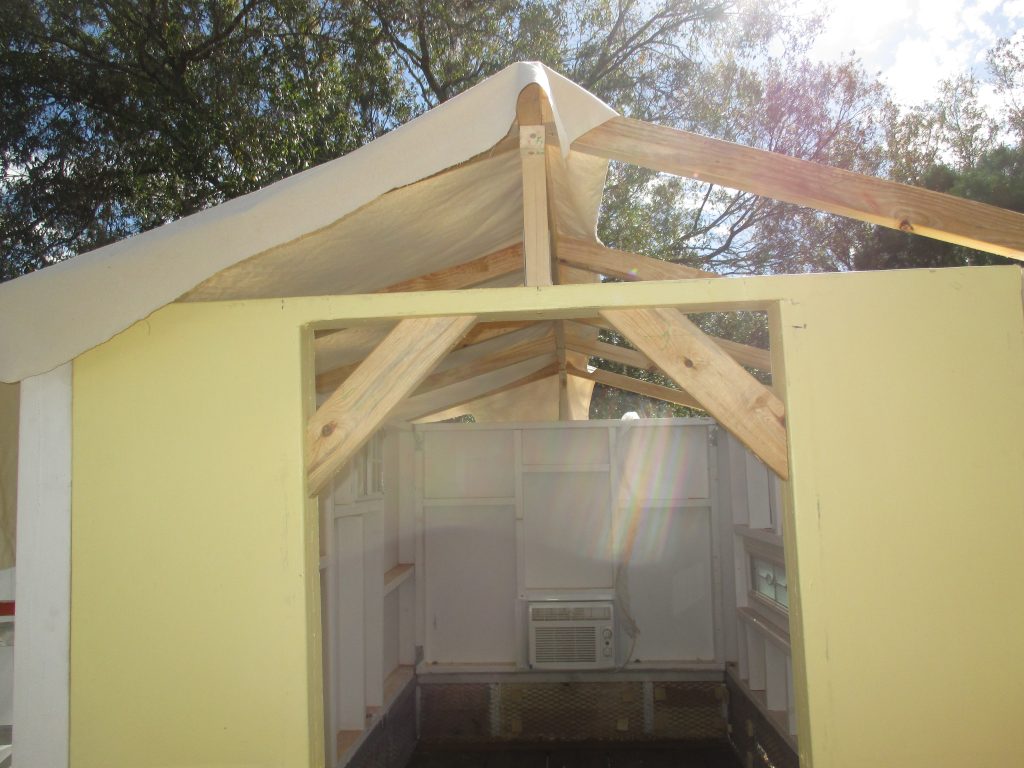
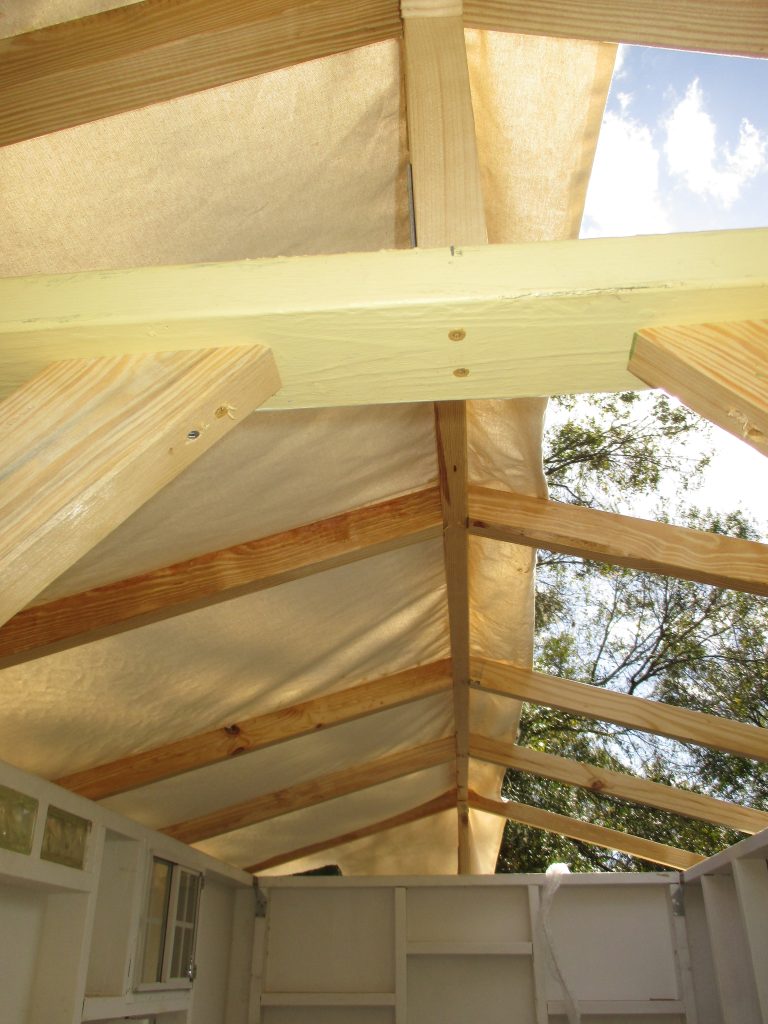
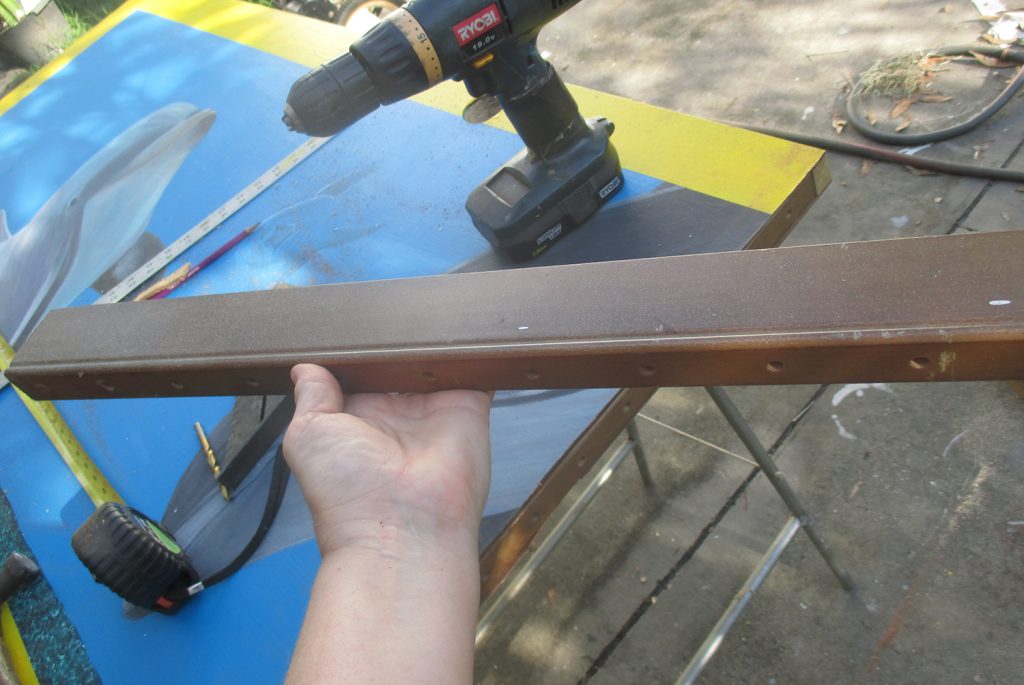
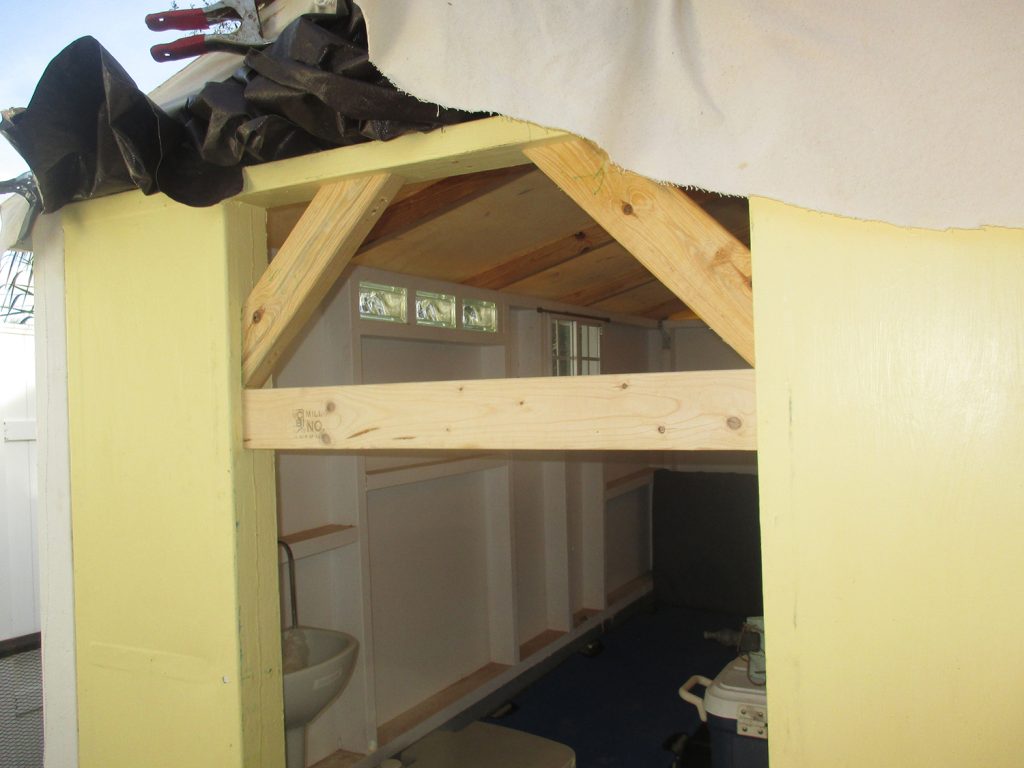
One thing I regret is that we did not put all the hurricane straps on first before adding the canvas to the roof and before adding the front boards to the
gables. There’s much less space now to maneuver around with the drill with the po’boy fiberglass canvas in place and with the boards on the gables now,
some boards are blocking certain spots where the hurricane straps should really go. These hurricane straps are to provide extra strength during strong winds by
screwing to the wall frames and the roofing frame. I’ll post more pictures later to show you in detail what I mean and what we did. But there turned
out, nonetheless, enough places to install these straps, so all should be well, God willing.
![]()
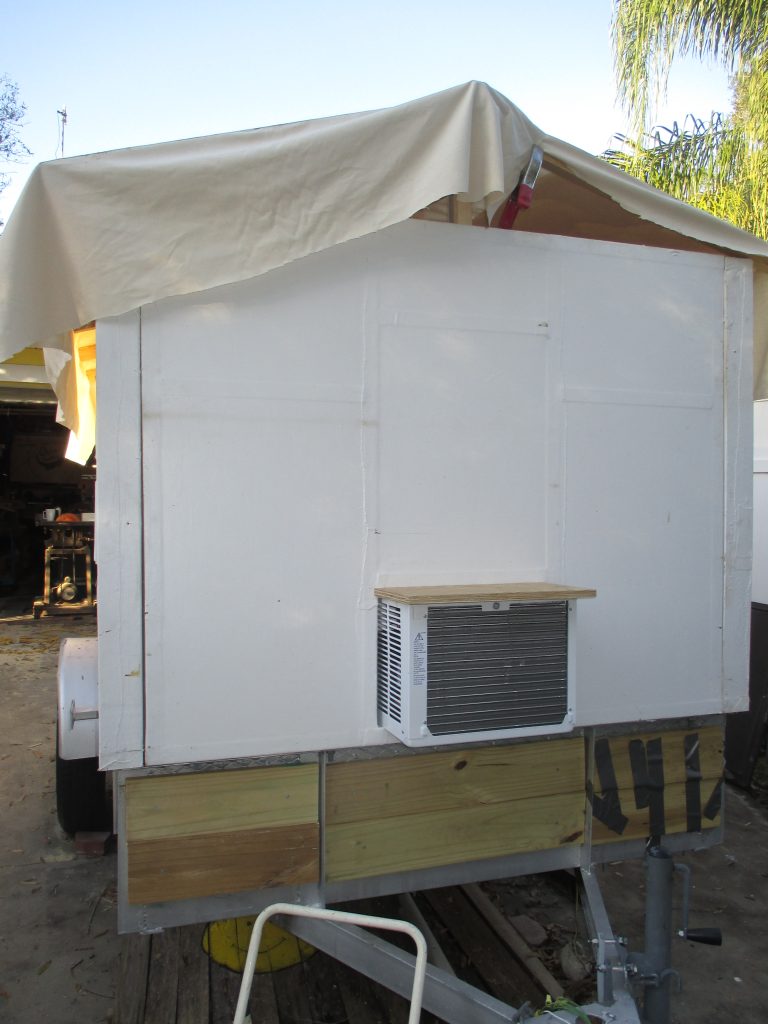


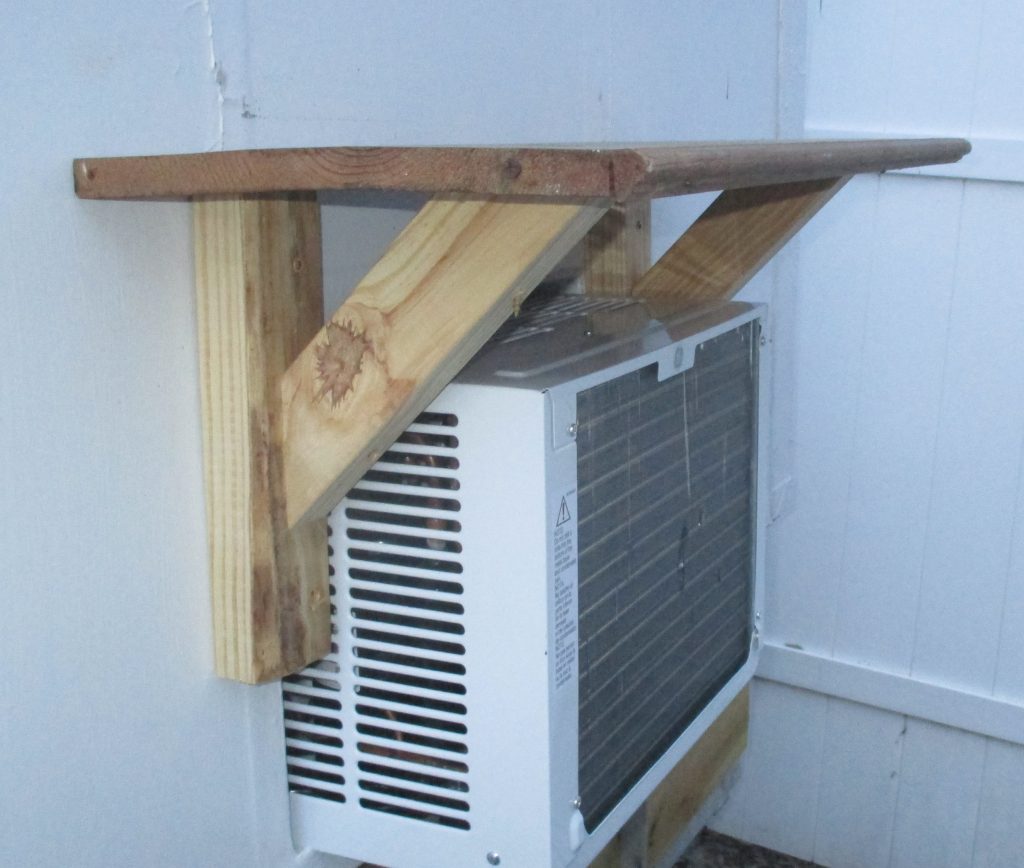
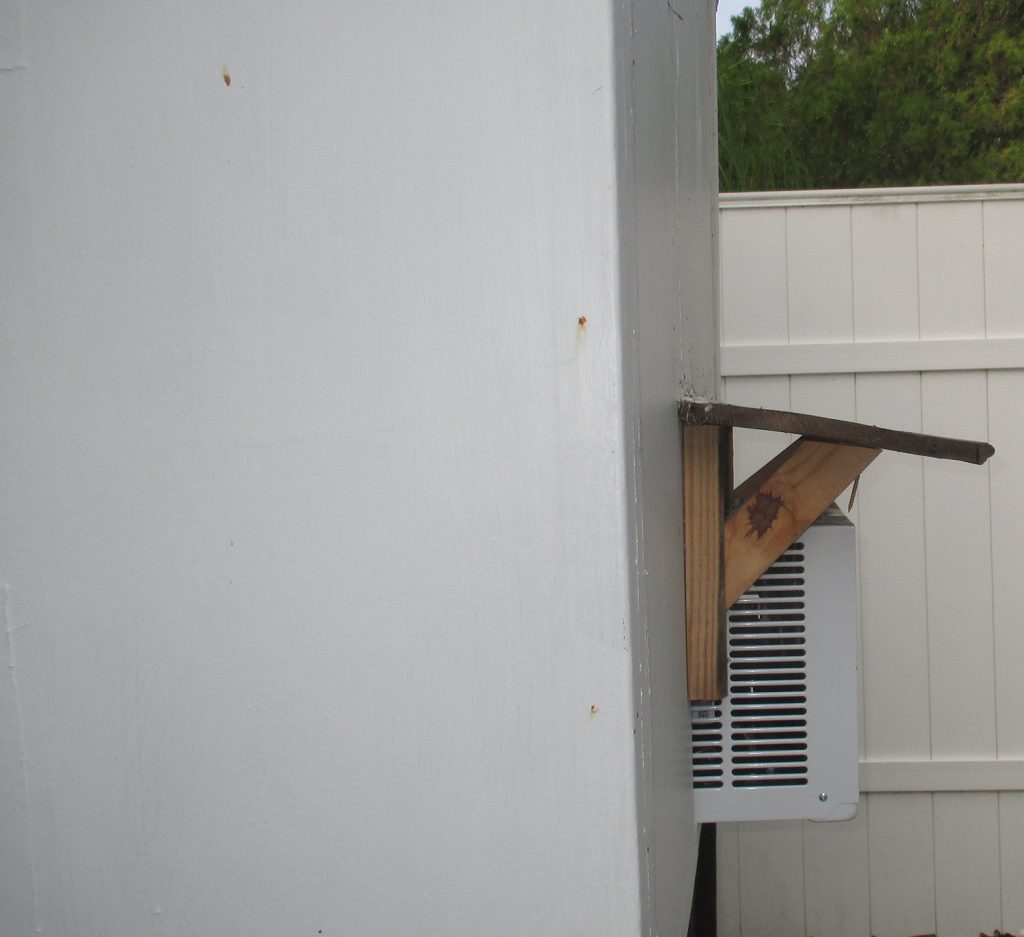
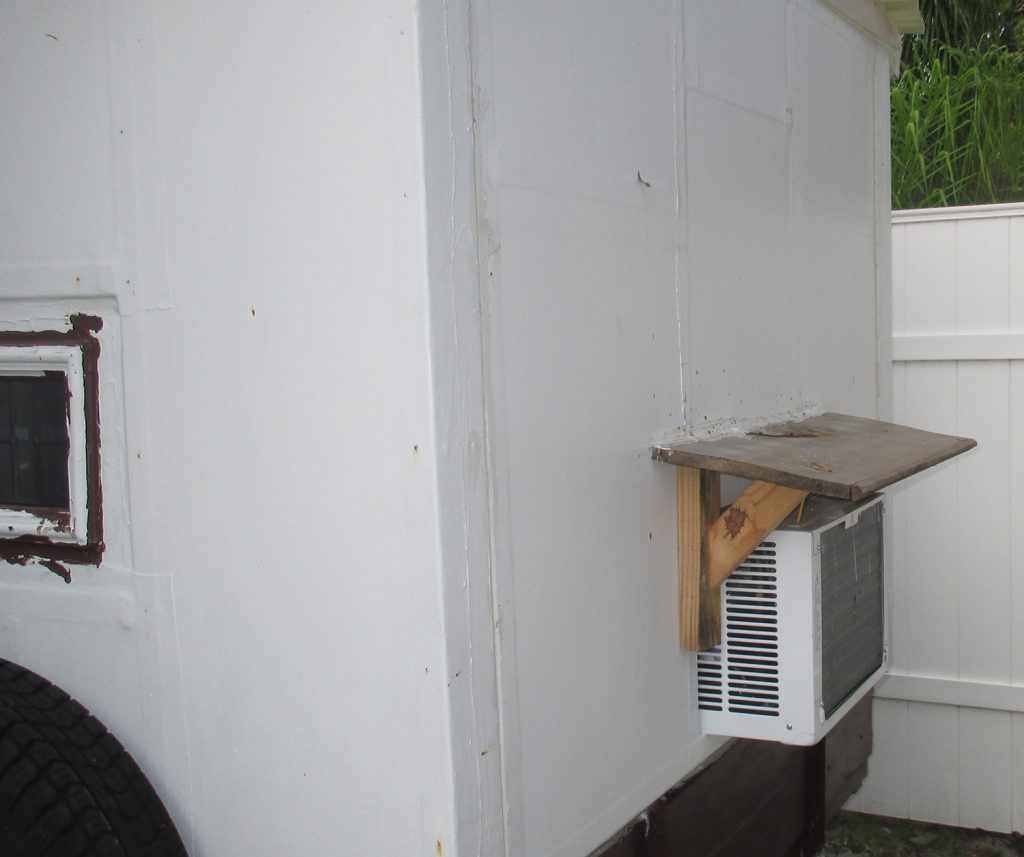
3/17/2023 Today, I built and installed small exterior overhead awning to protect the ac unit.
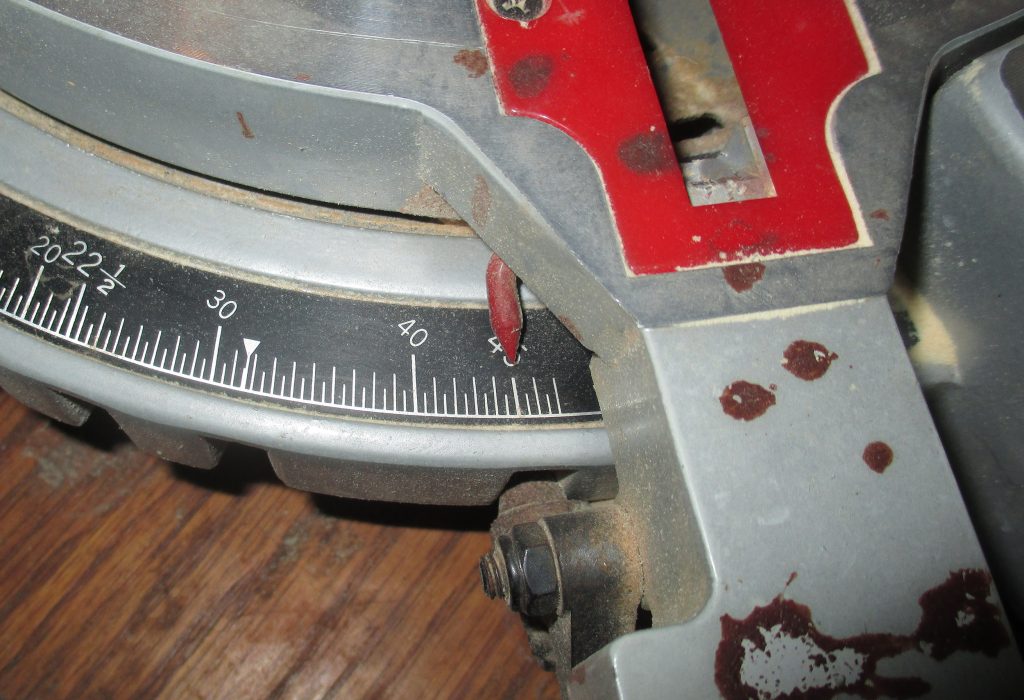
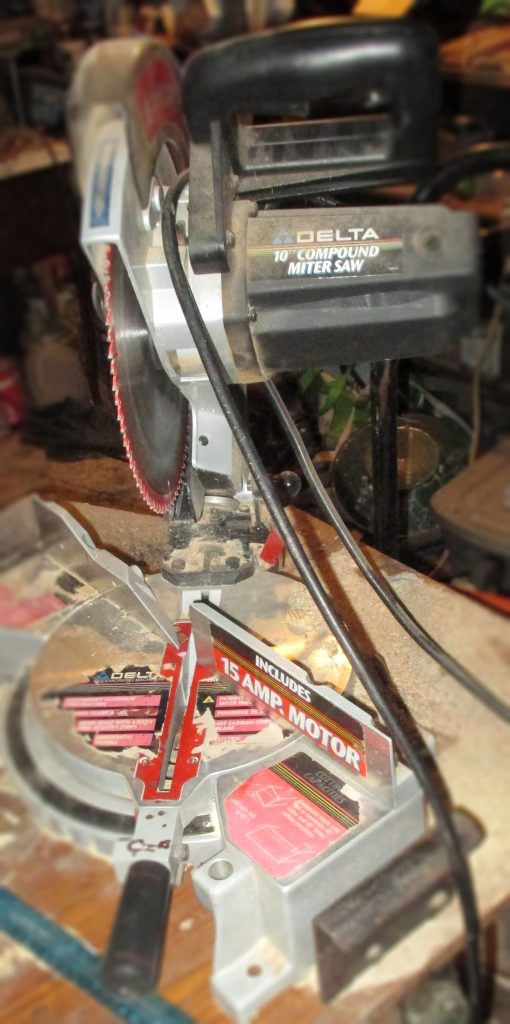
These Miter Saws are great! You can set the machine, as you can see above, to a 45 degree angle which is what you need when you’re making structural supports. I had to make 2 structural supports for this small project.
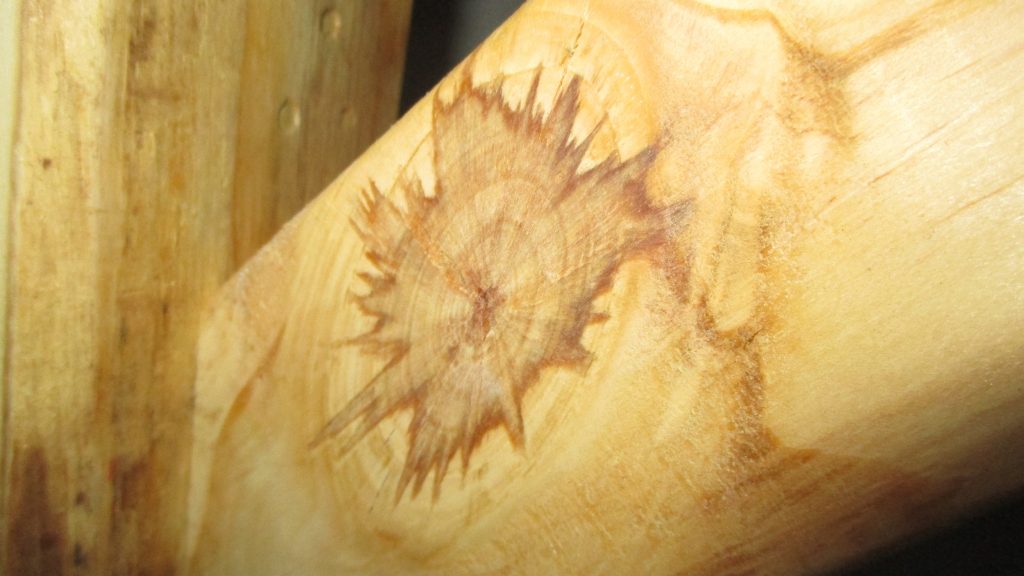
Interesting mark on this wood. So unusual. Looks like a splattered coffee stain, but it’s some sort of natural pattern in the wood.
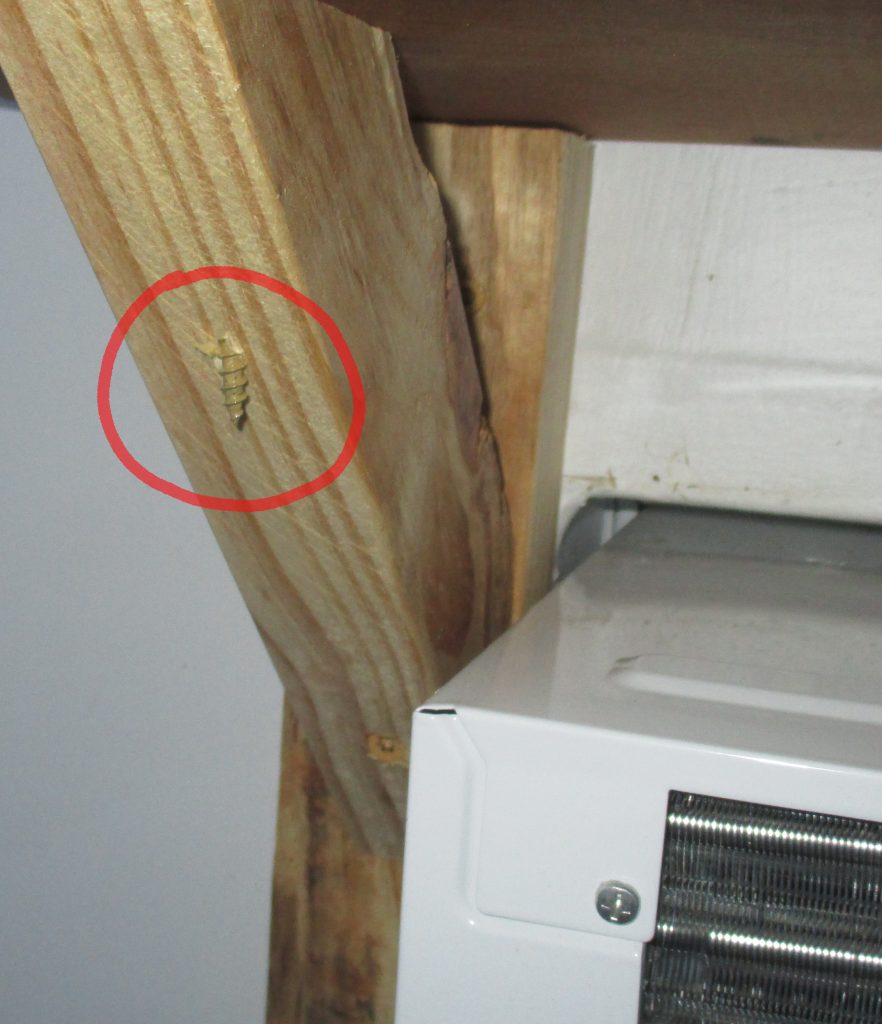
In this picture, you’ll see (circled in red) a screw came threw from the other side while drilling. I only had super long 3.5″ screws to do this job, and sometimes we have to use what we have. No biggie. Poo poo happens. I’ll just go back later and cover it over with wood putty which will dry nice and hard.

Happened to have a cedar shelf not being used for anything – worked great for the top! I’ll go back and paint this little awning tomorrow. Getting late now.

You’ll see she isn’t perfectly aligned, but neither am I! She’ll d the job! Just make sure there is enough space on either side (at least an inch) and
more than enough space on top, so heat can escape from the ac unit.

I’m thinking now that I may go back and make this a two-fold functional design – might build some sort of storage housing to put on top that shuts and locks.
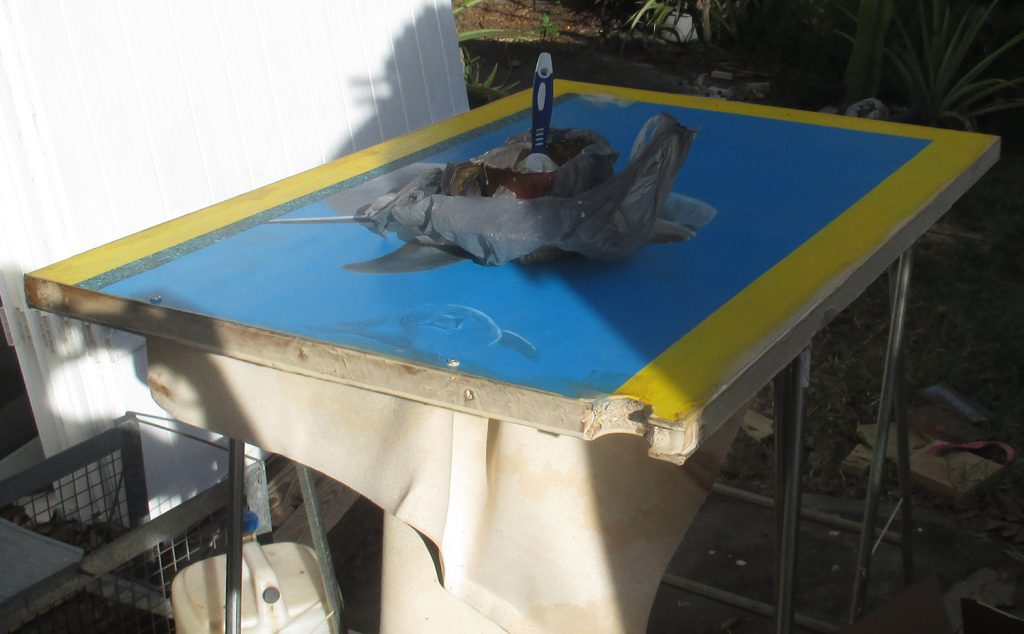
3/18/2023
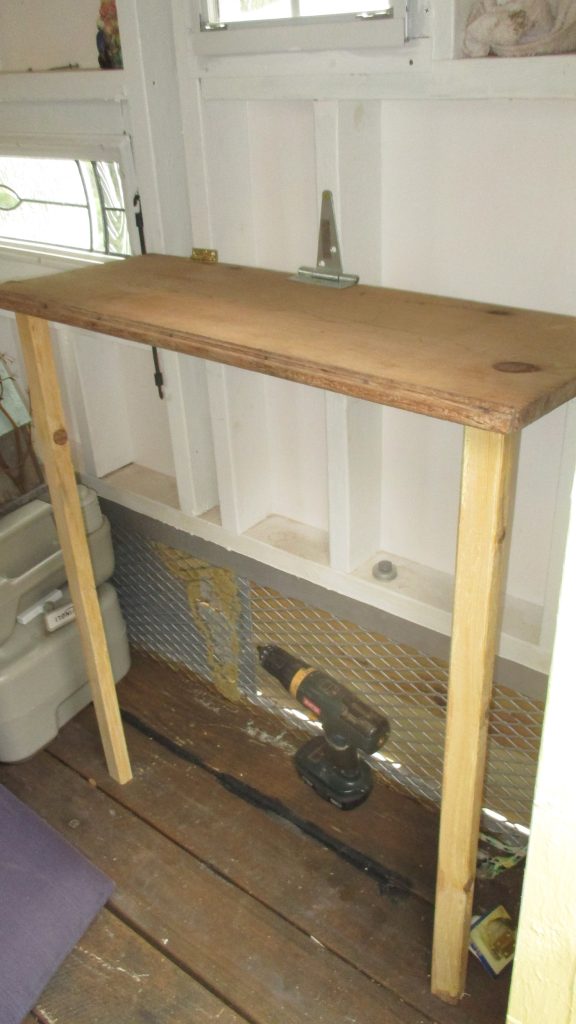
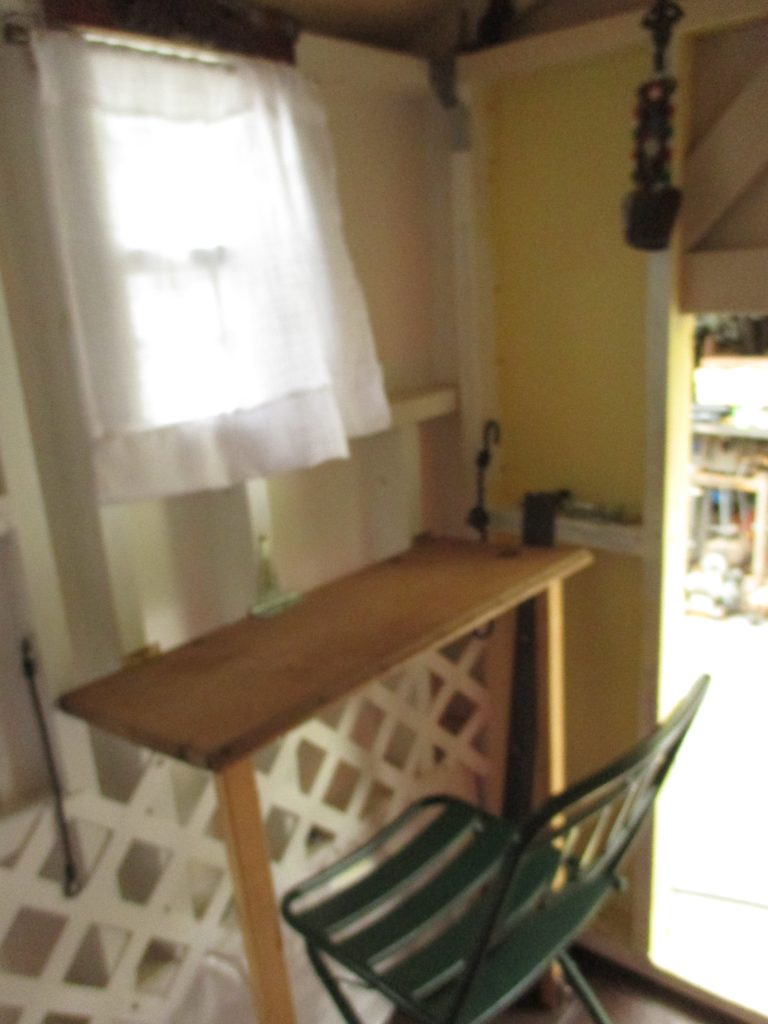
Continued with the little breakfast nook fold up table. It’s pretty much done now – not much to look at but she’ll do the job! I decided to go with a
fold up table, so that we can have that extra space to put a dog crate or coolers or something when it is not being used. The plan is to hang some cute small
stools just above the window that we can take down when we need them, so they, too, will always be out of the way unless needed.
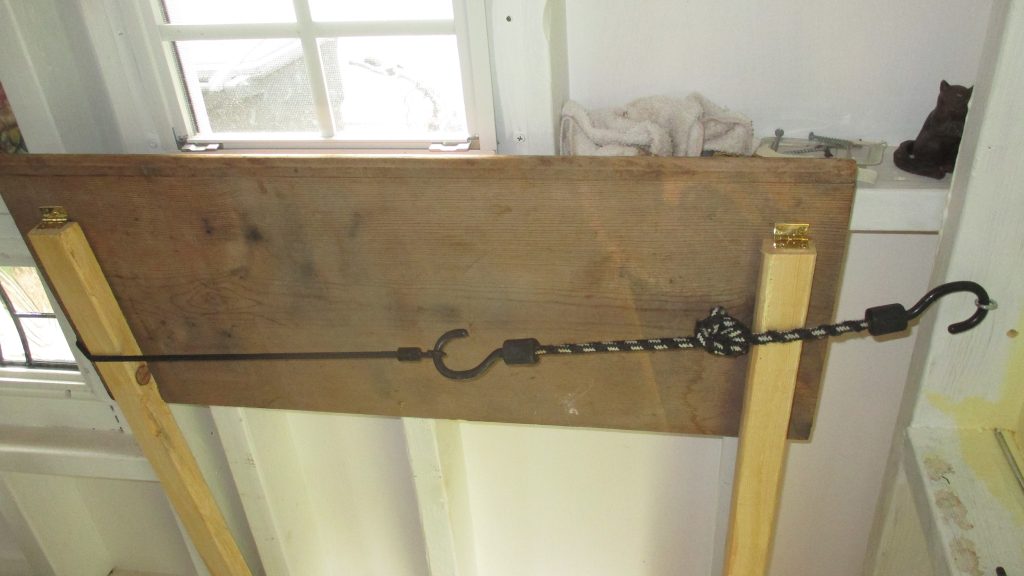
I’ll go back later and paint her either white or a deep rich dark brown (both top and legs.) I’ll also figure out a nicer way to keep her latched to the wall.
That bungy cord definitely leaves something to be desired.
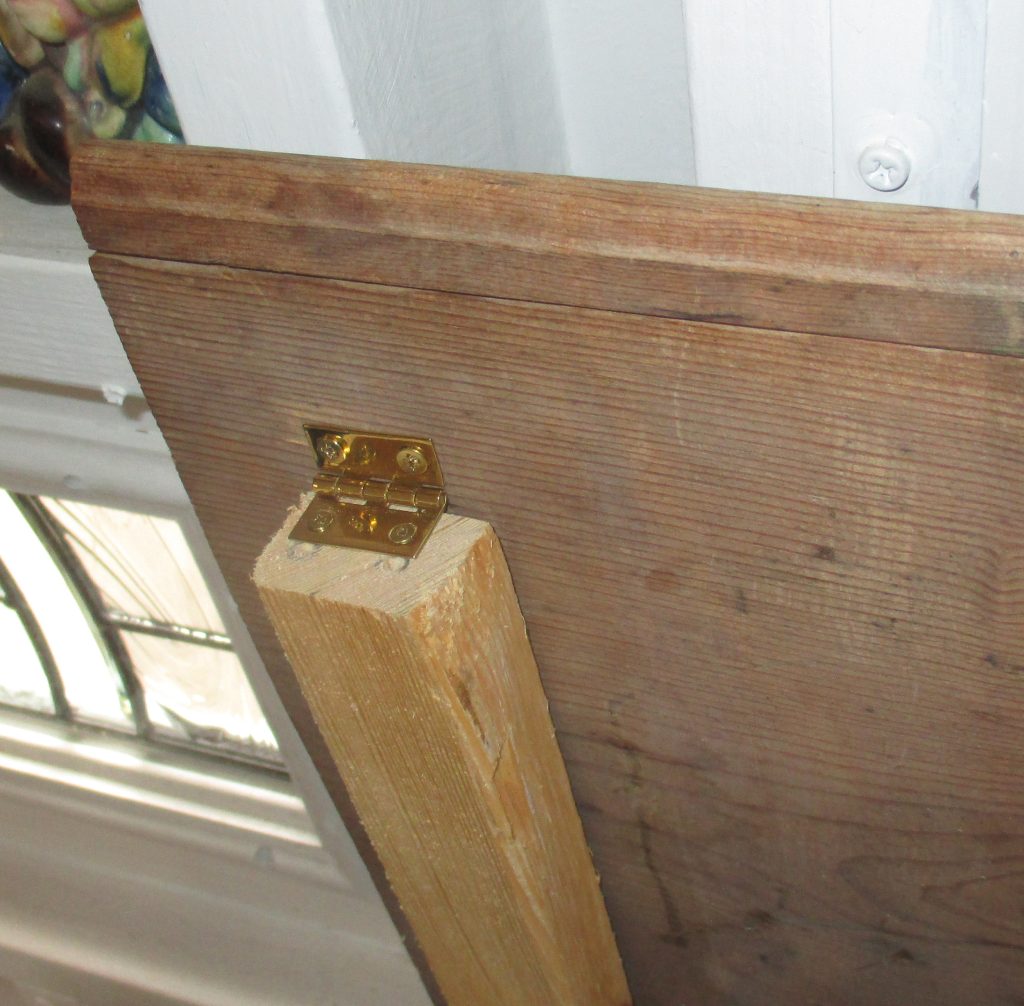
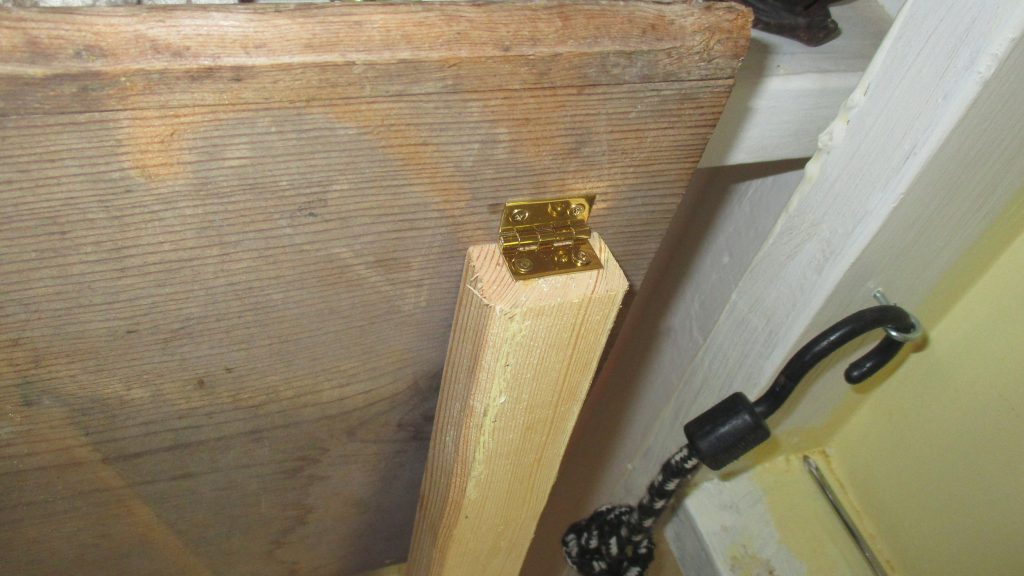
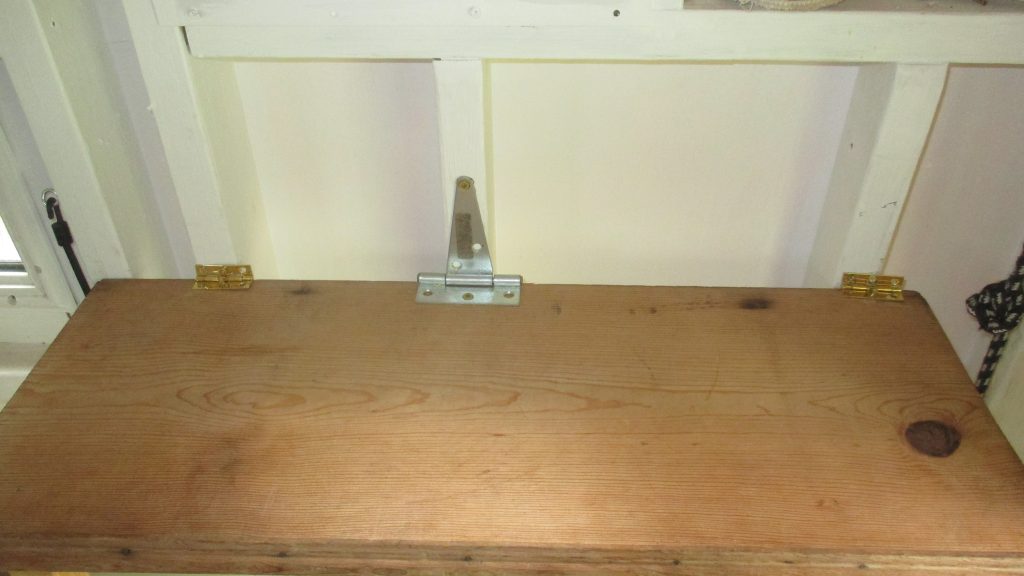
Definitely not a pretty hinge system! But as long as they hold up, I’ll be happy. One thing I have learned is sometimes we really do have to predrill. I was being impatient
and a little lazy and just tried to drill those tiny brass screws into the wood without a predrilled pilot hole. The brass is very soft and the metal drill bit has a much harder metal, so I ended up stripping them, so a couple of the little brass screws are not in all the way and I cannot even take them out at this point without damaging the wood. So, they stay where they’re at! Lesson learned! For the hinges I put on the legs, I predrilled pilot holes and had no problems. Praise God!
Another thing I’d like to do is ad a brace that connects each leg with each other, giving the overall structure more balance and support. Also, I’d like to ad a little latch to the bottom of each leg. These latches would have a small post that can go into the floor board a little ways, which would keep each of the legs firmly in place.

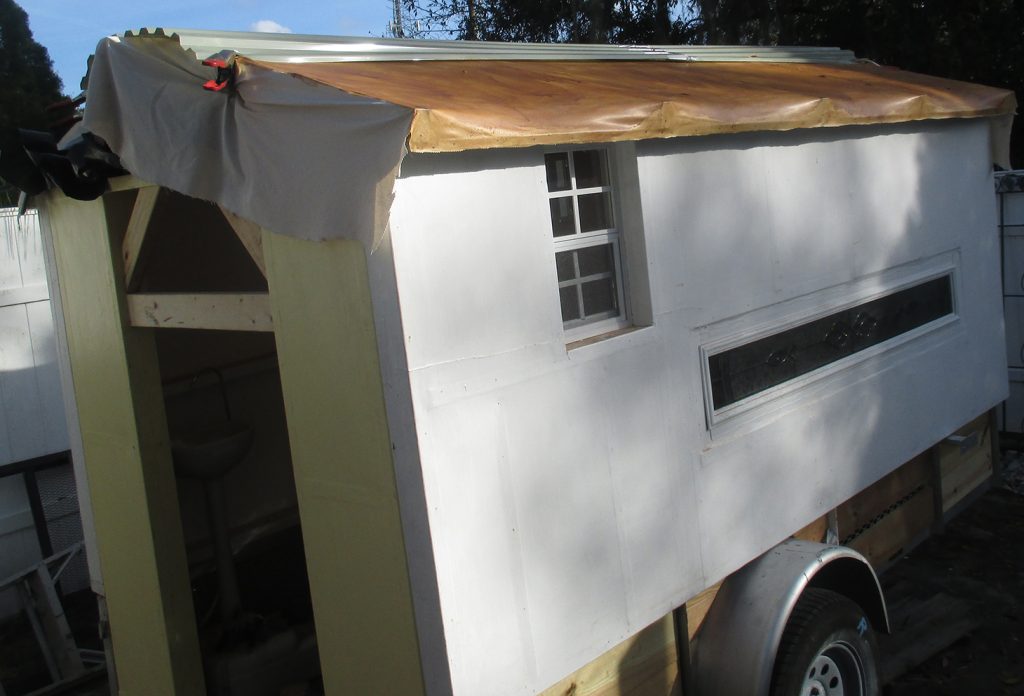

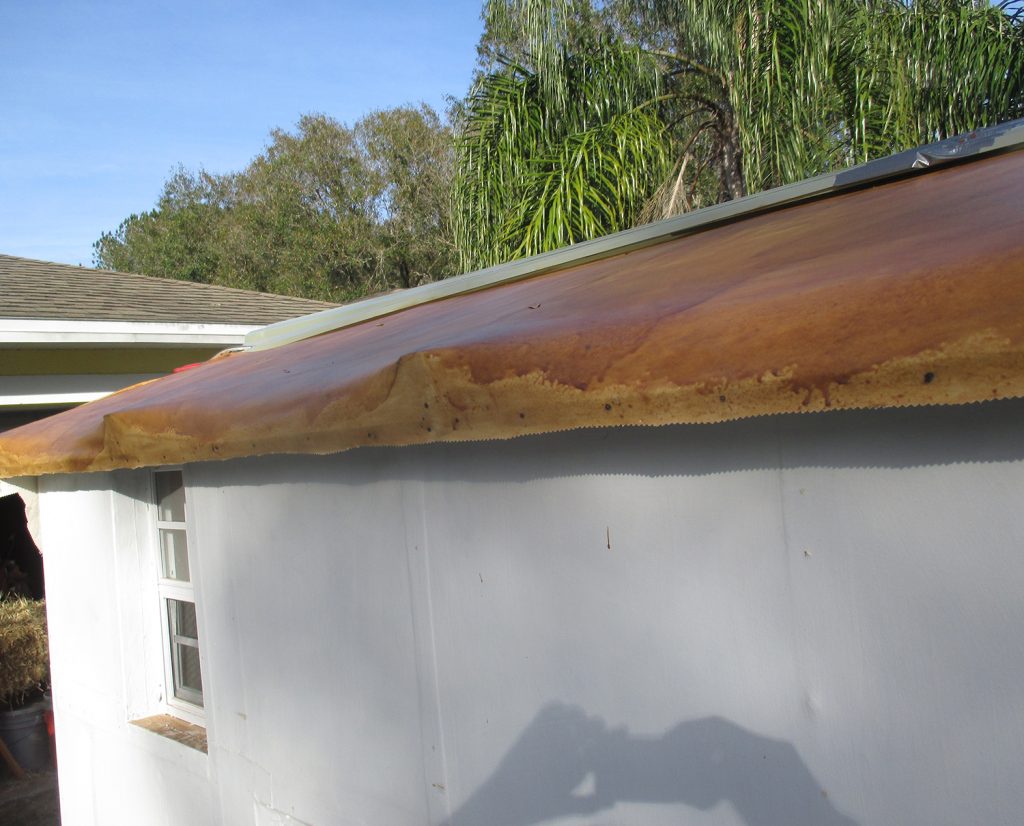
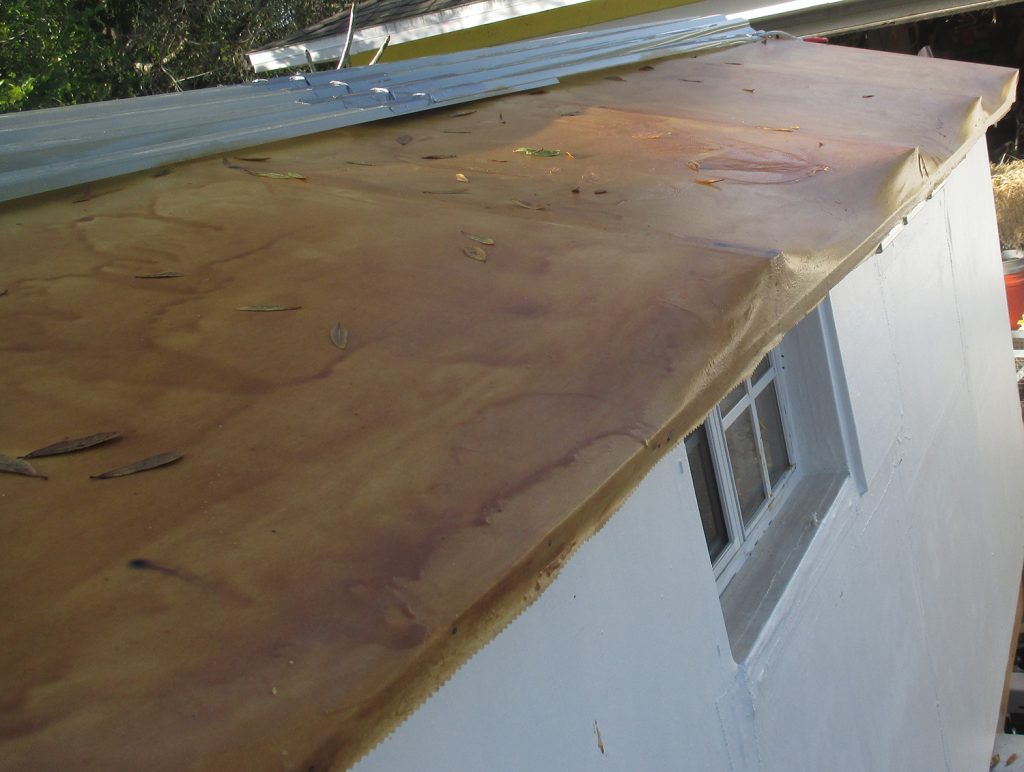
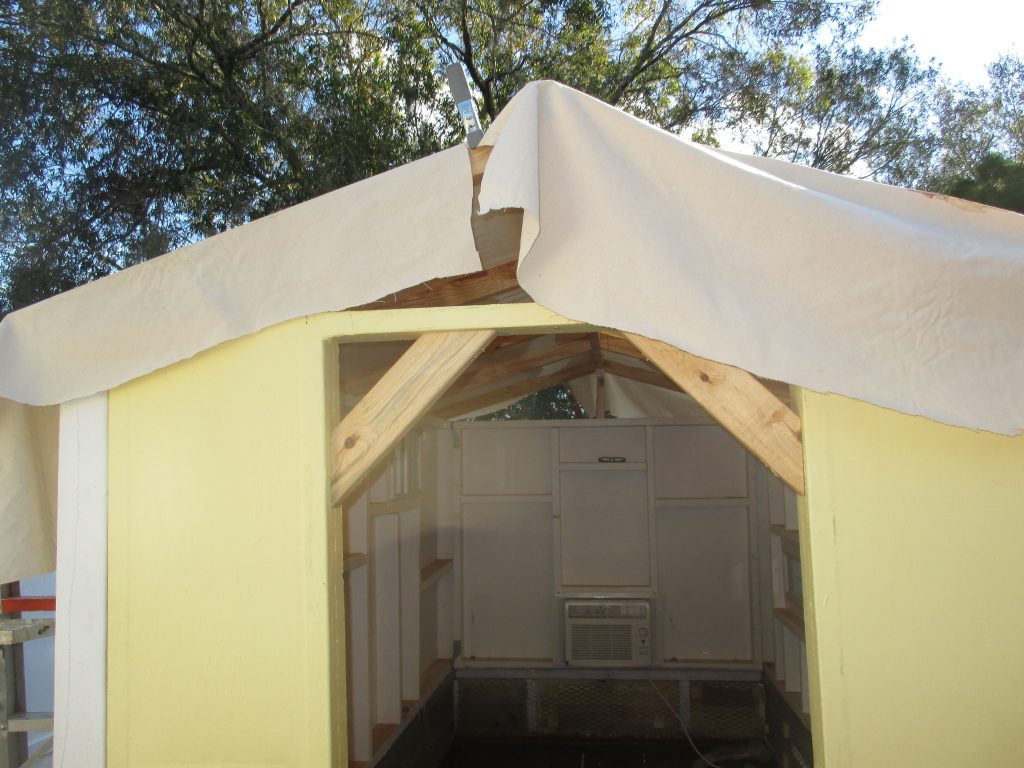
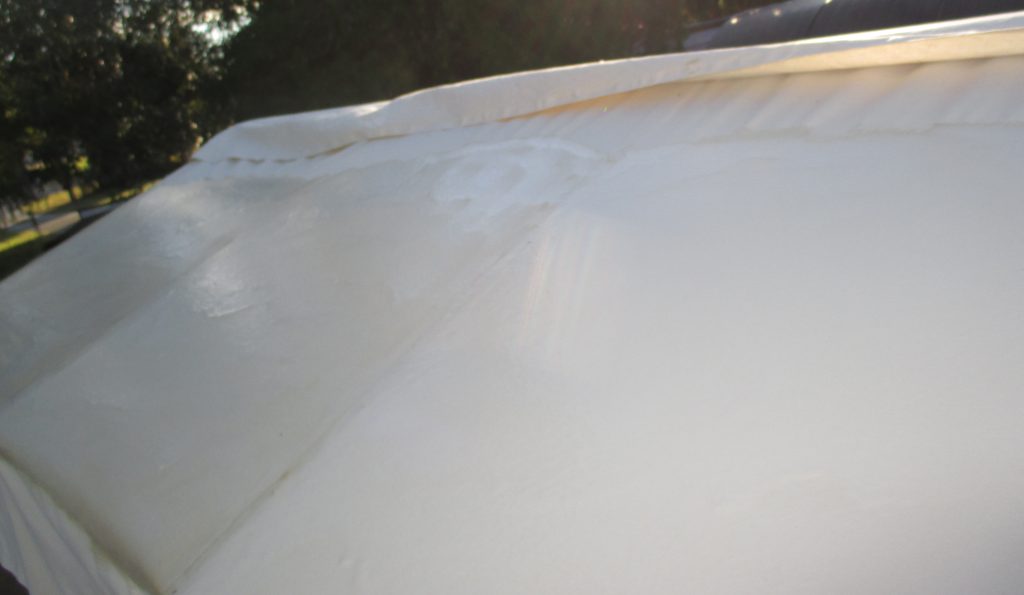
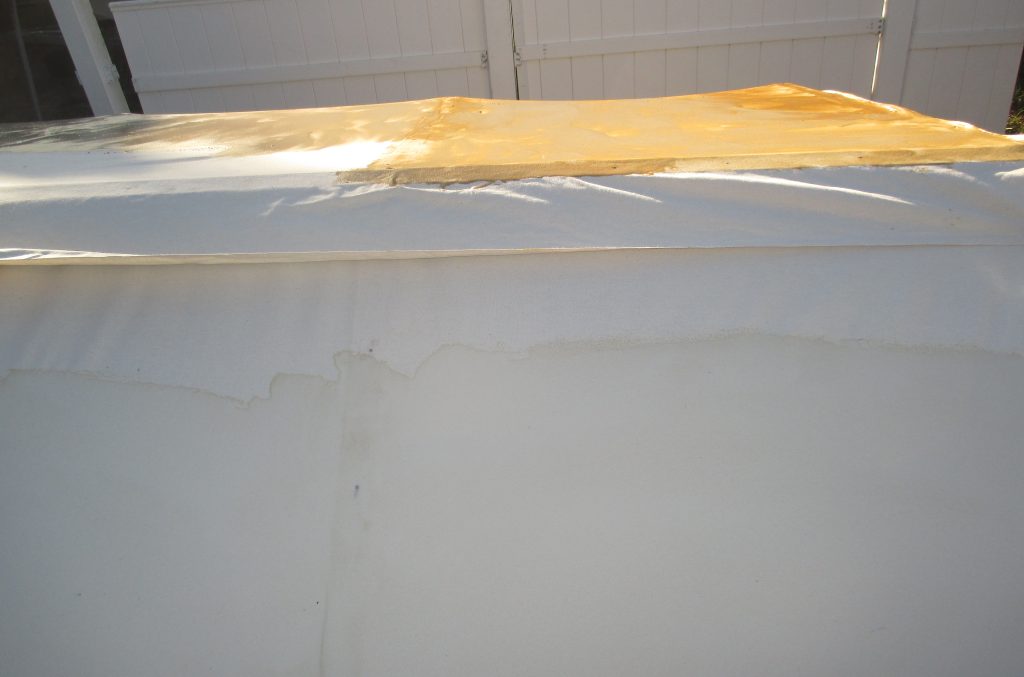
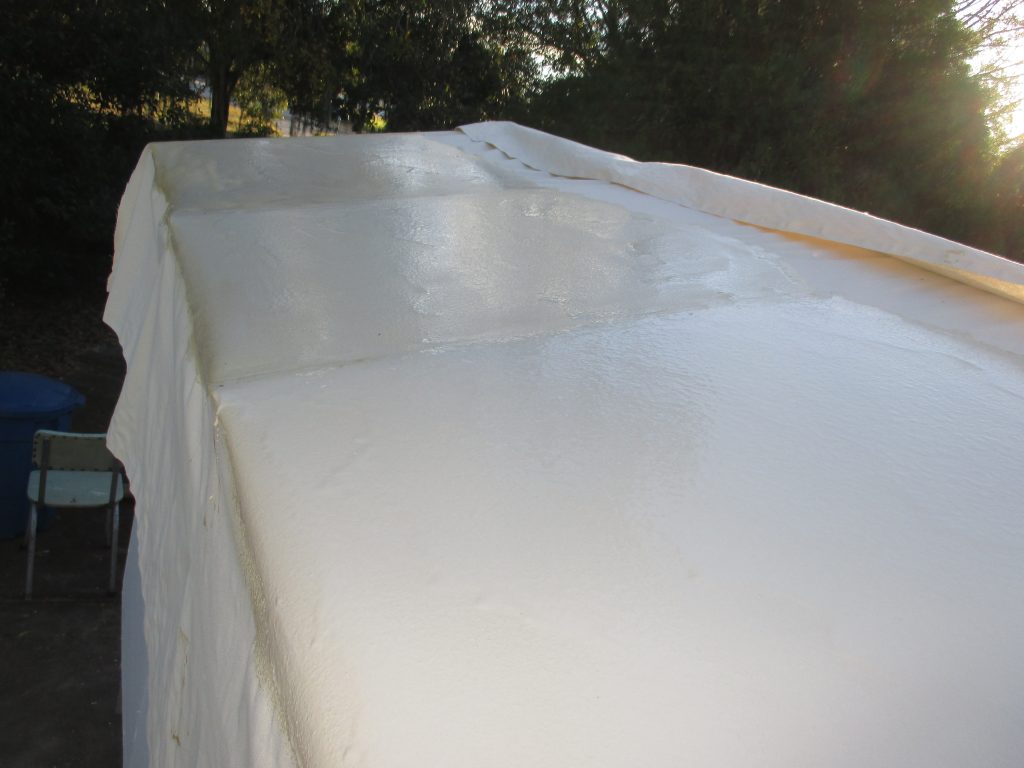
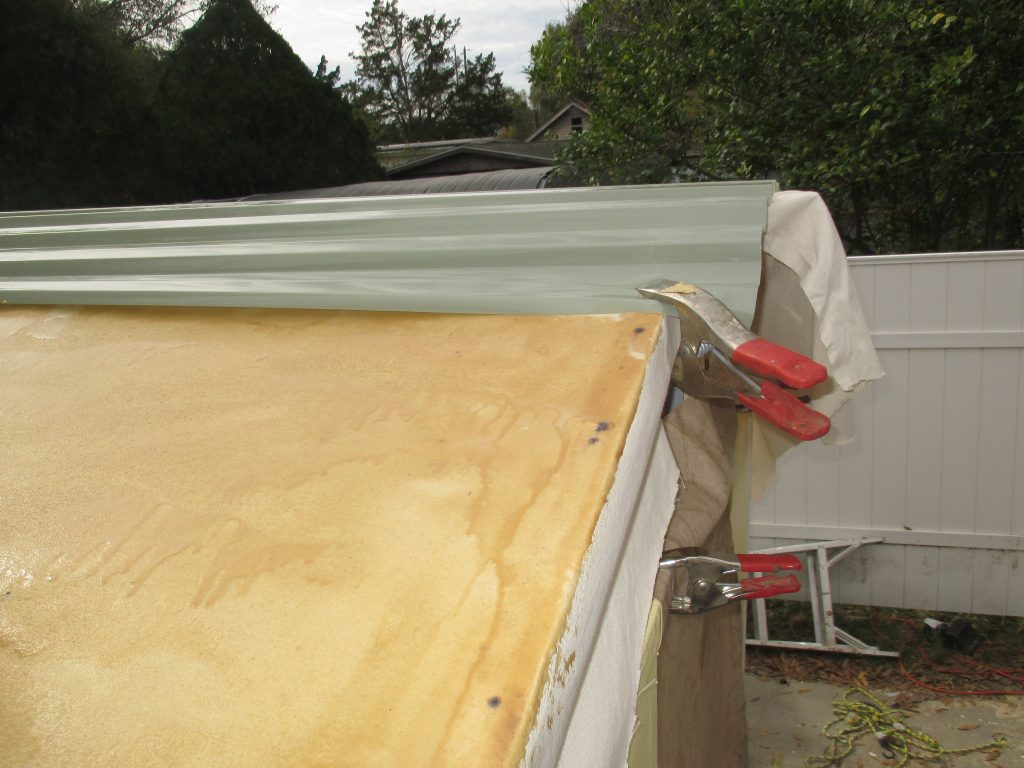
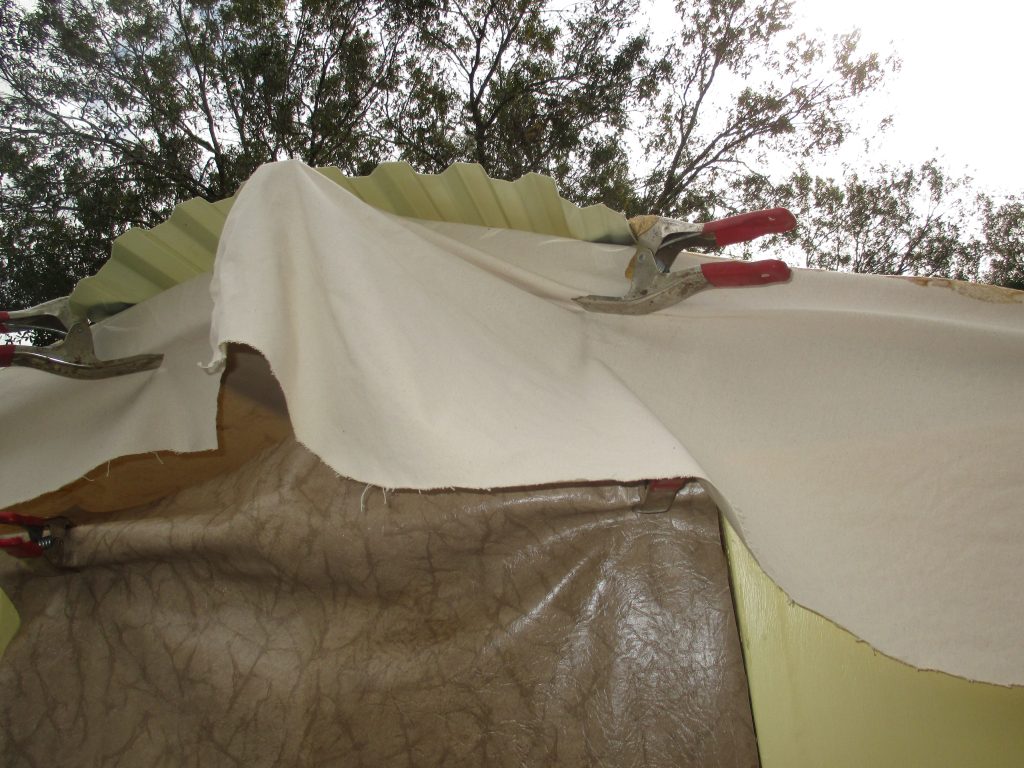
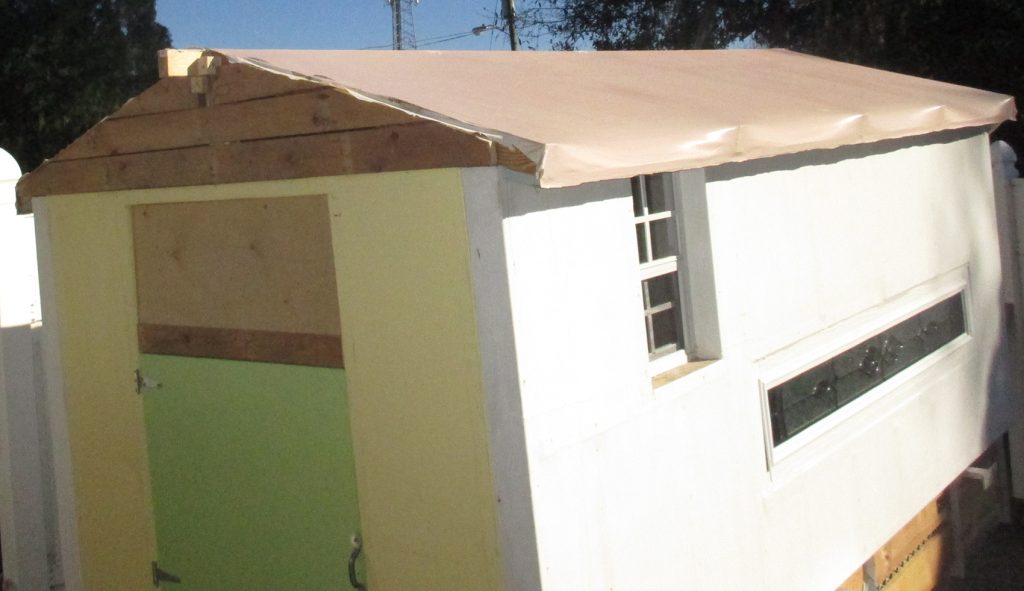
Finally finished the roof. It took forever! I really wanted to just leave the poor boy canvas top because I thought it looked so charming, but I figured it would be prudent to lay down some corrugated plastic roof panels in case any animals (cats or raccoons) wanted to climb around on top! I used a heat gun to melt and fold the end panels on each side over and then screwed them down.
![]()
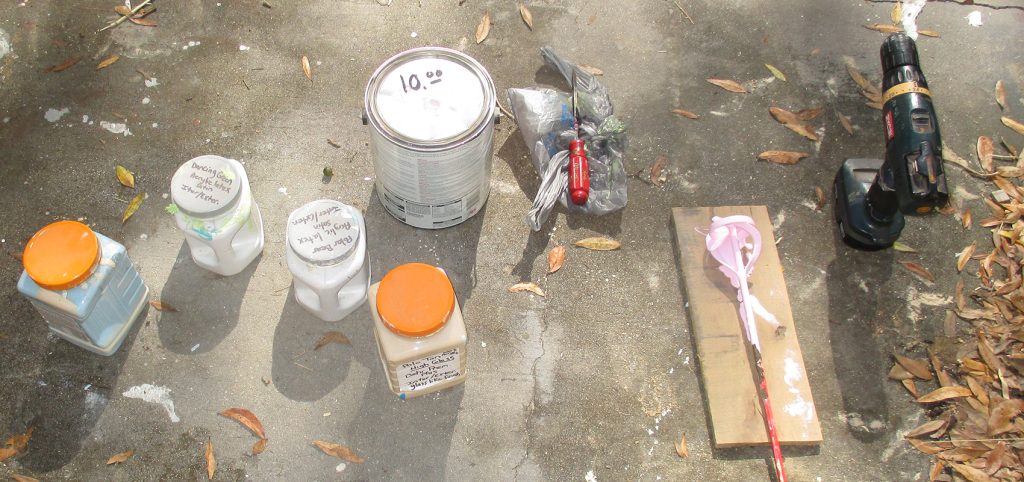
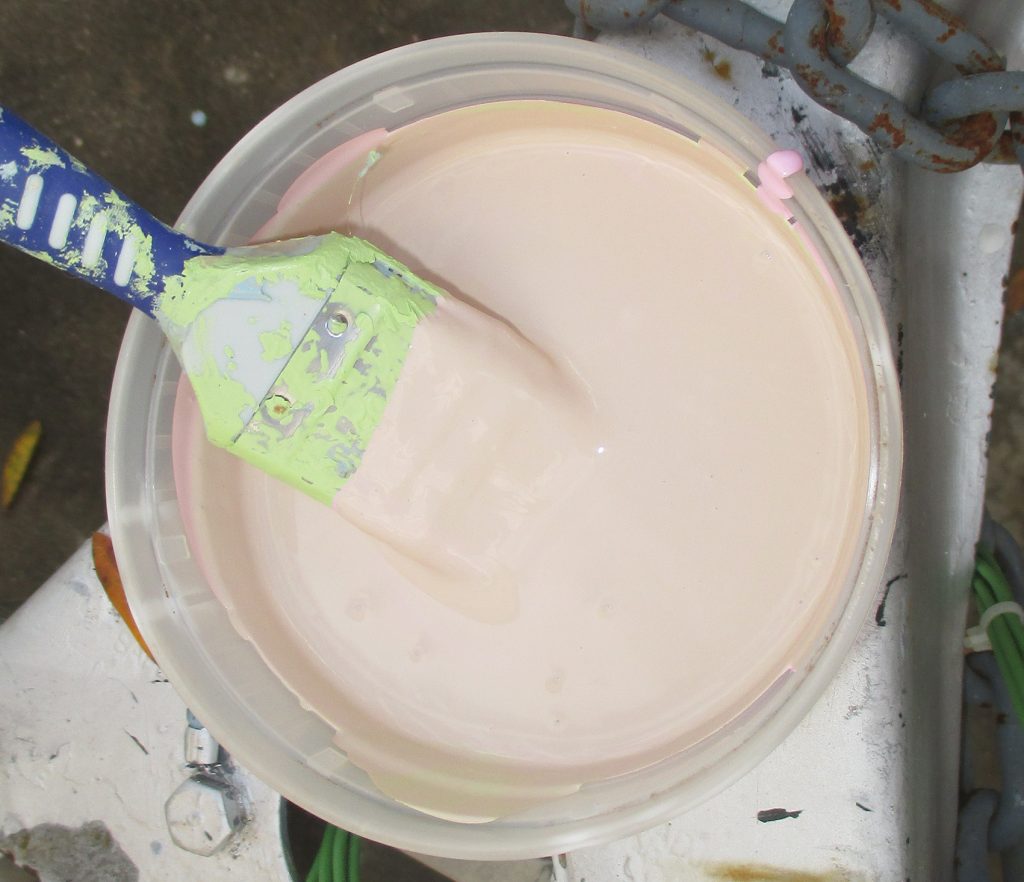
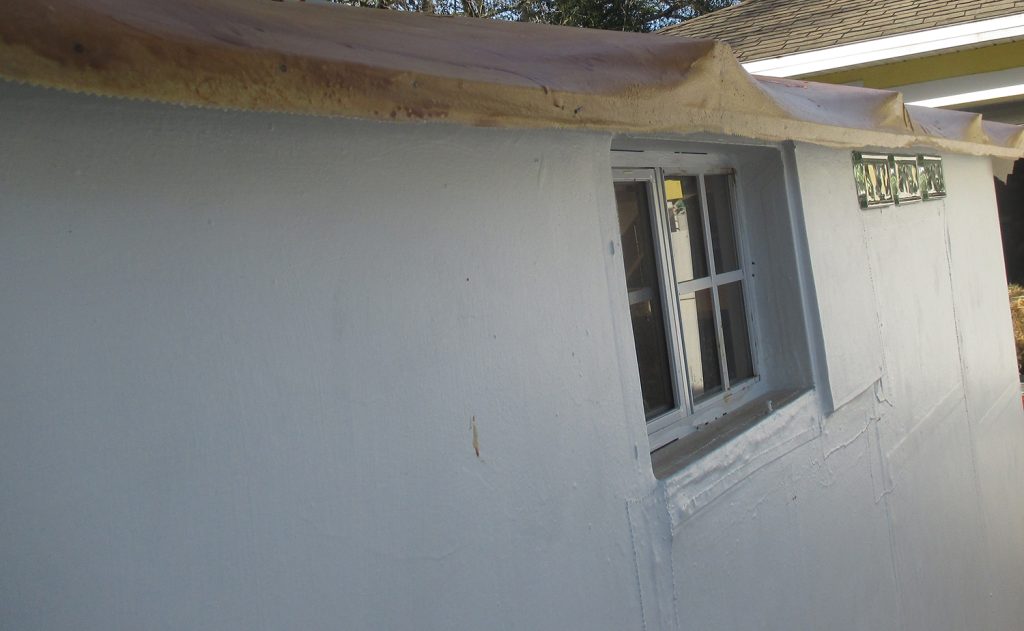
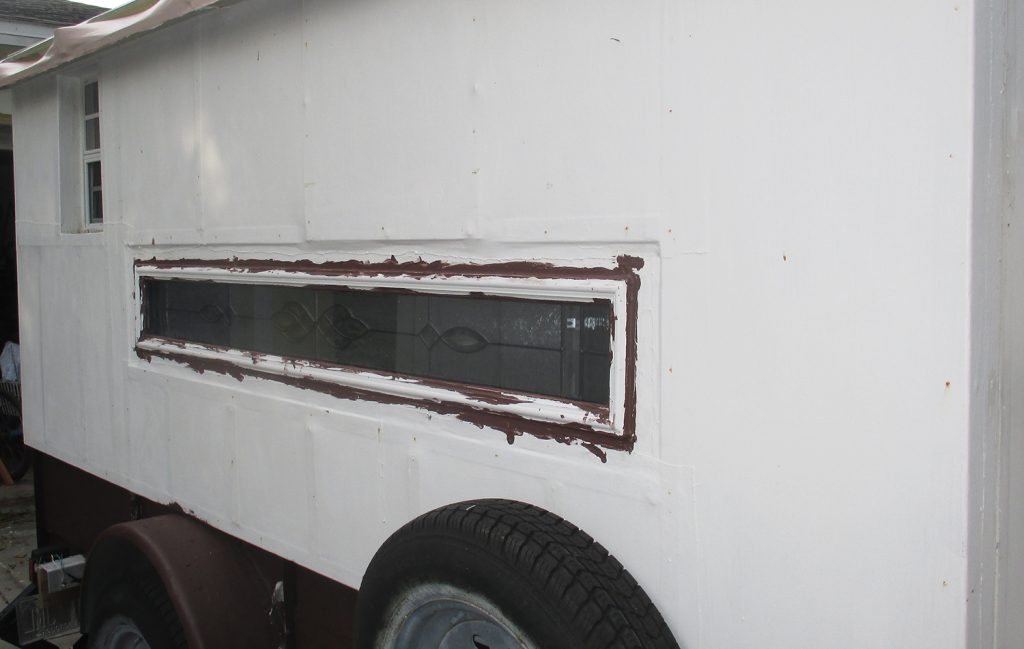
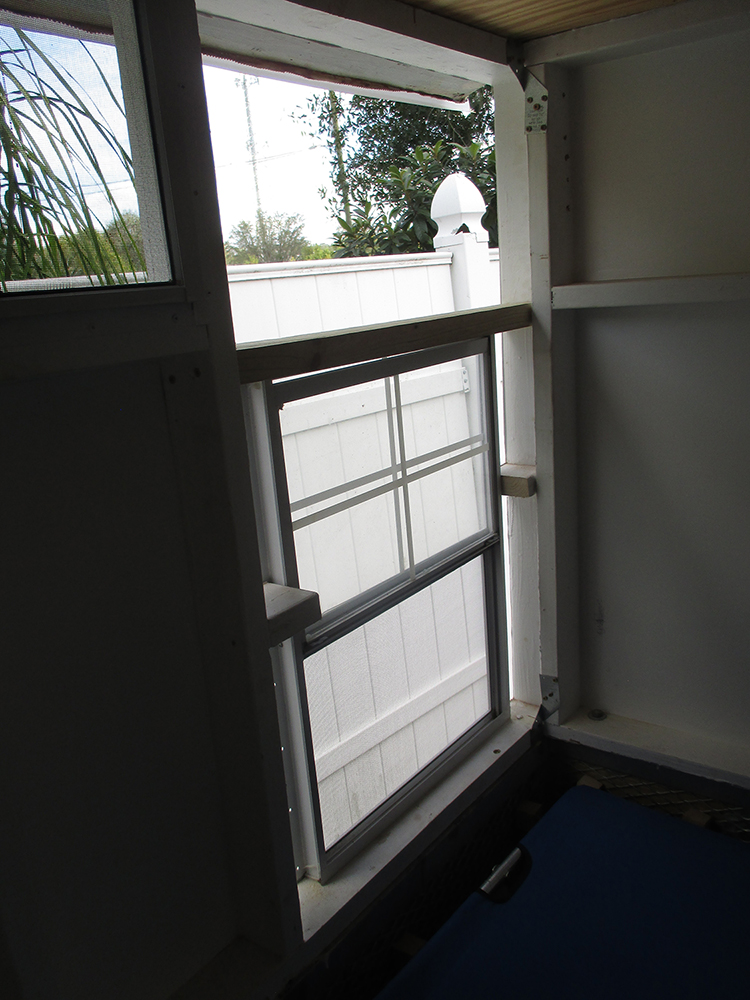
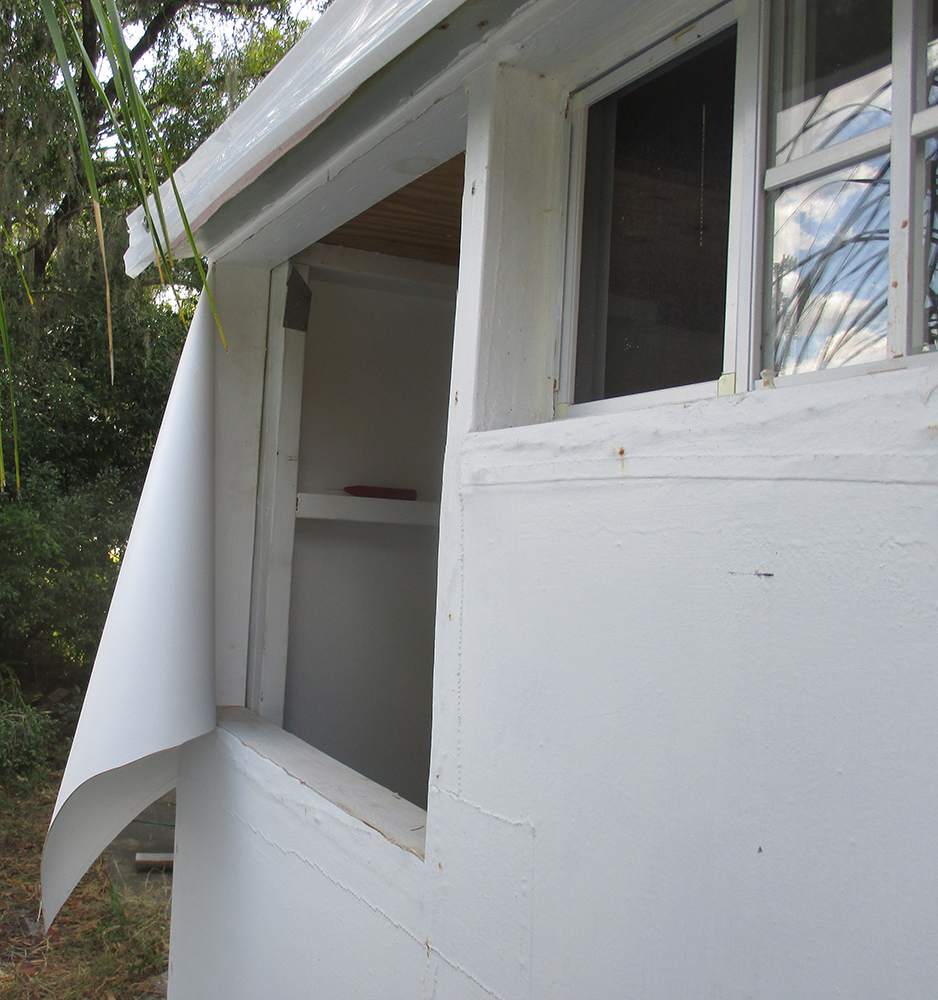
We decided it would be wise to install another large window because it was just a little too stuffy in there. Having to cut into the Poor Boy Fiberglass (canvas, water proof wood glue, and acrylic paint) was a little like cutting linoleum. Once we’re completely done, we will update this page with better organization and information.
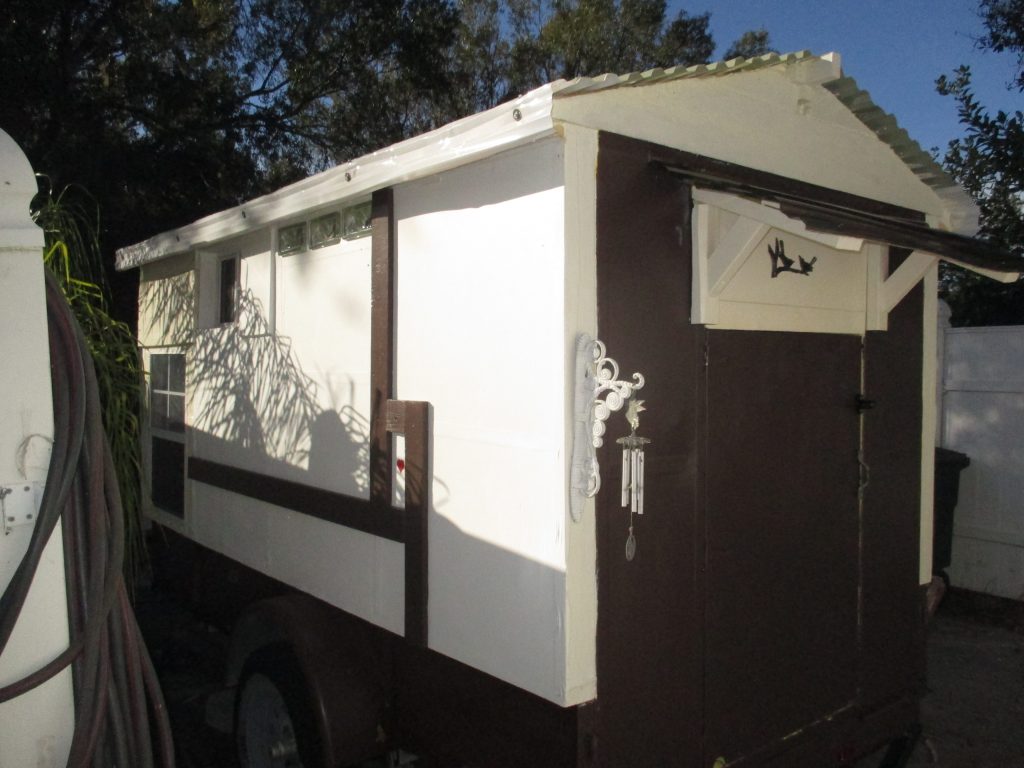
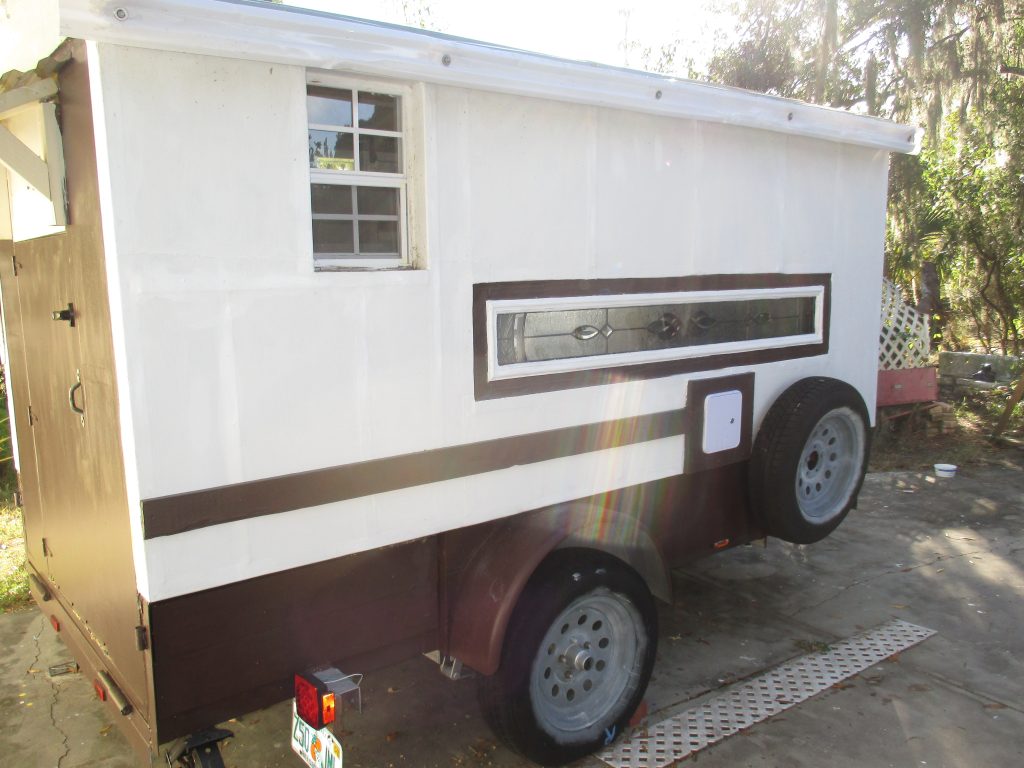
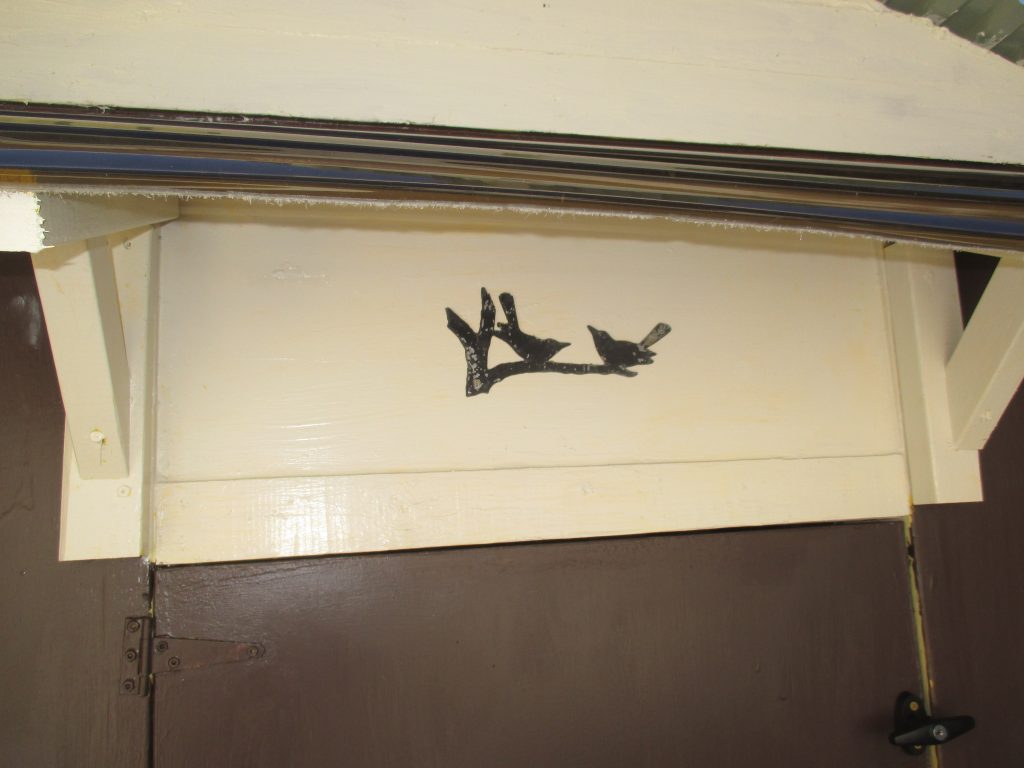
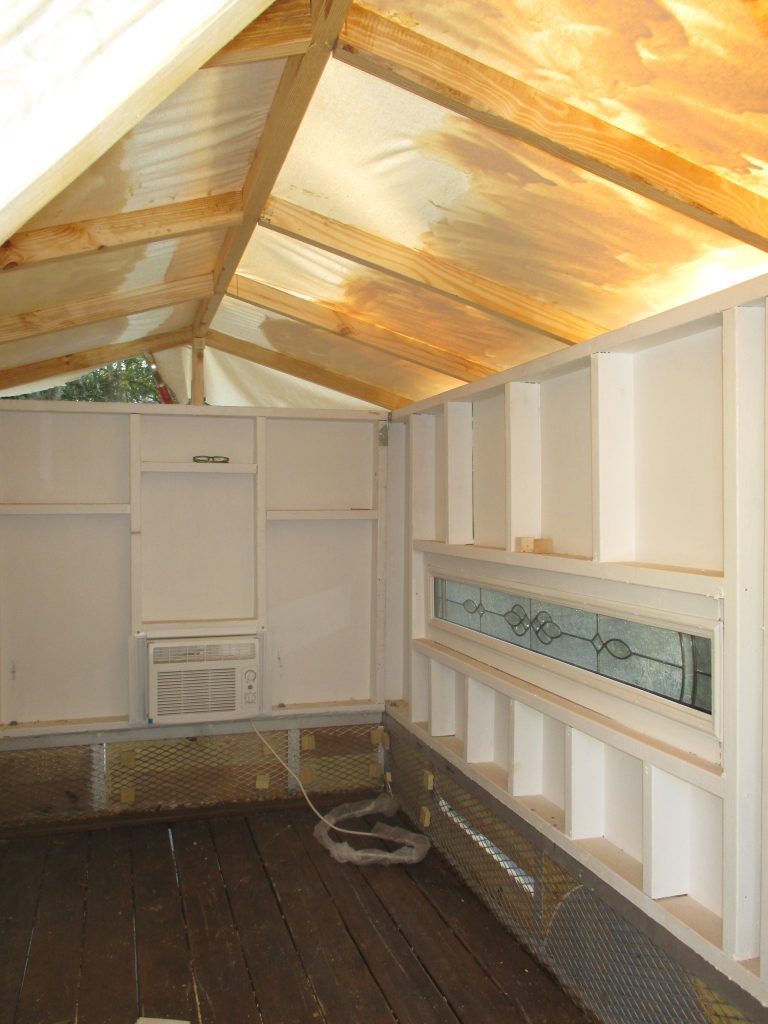
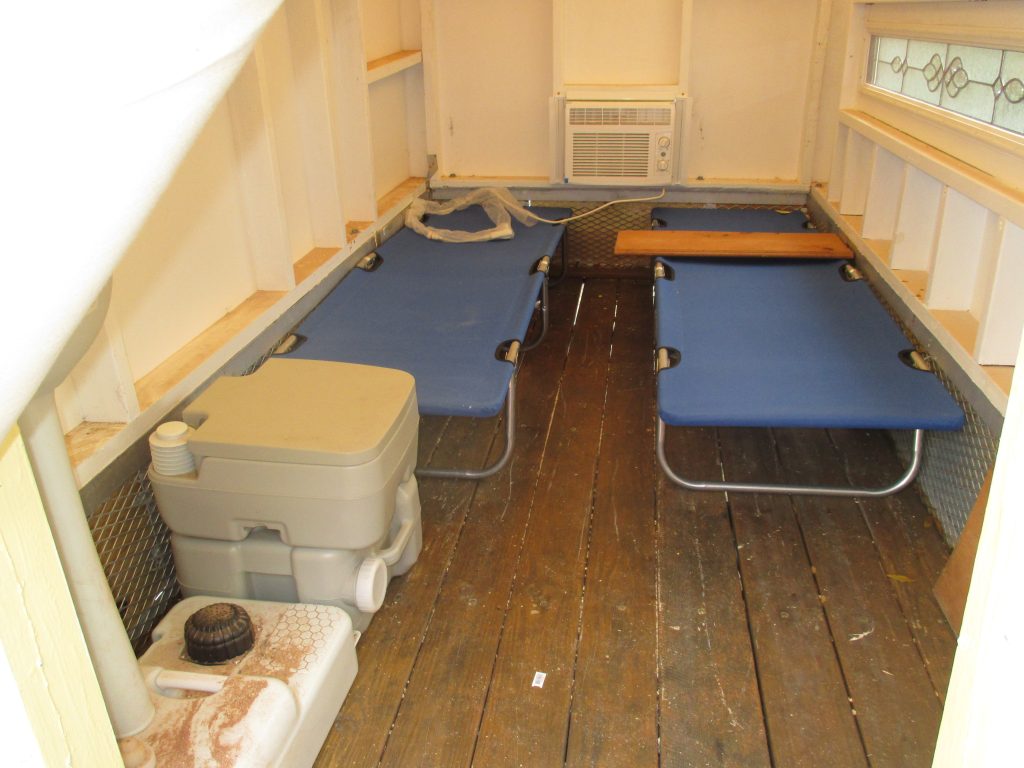
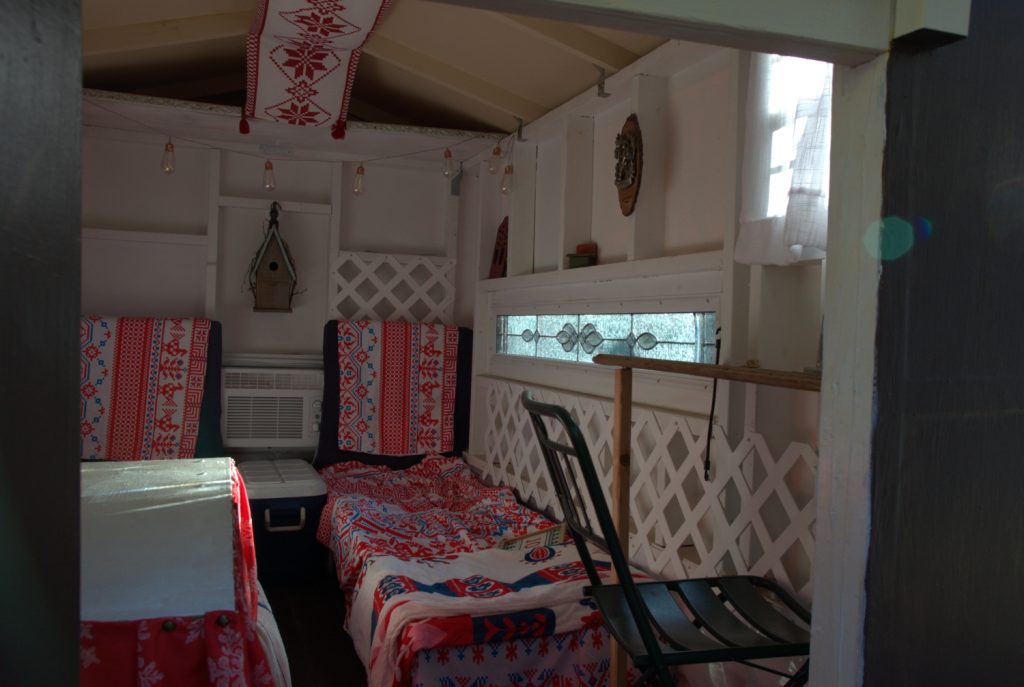
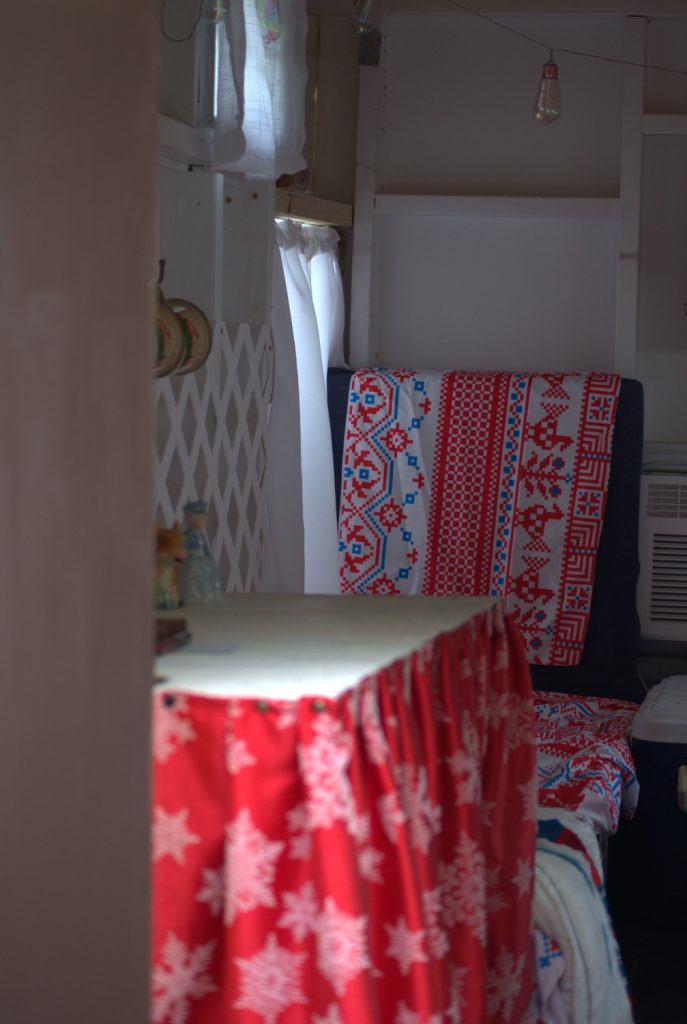
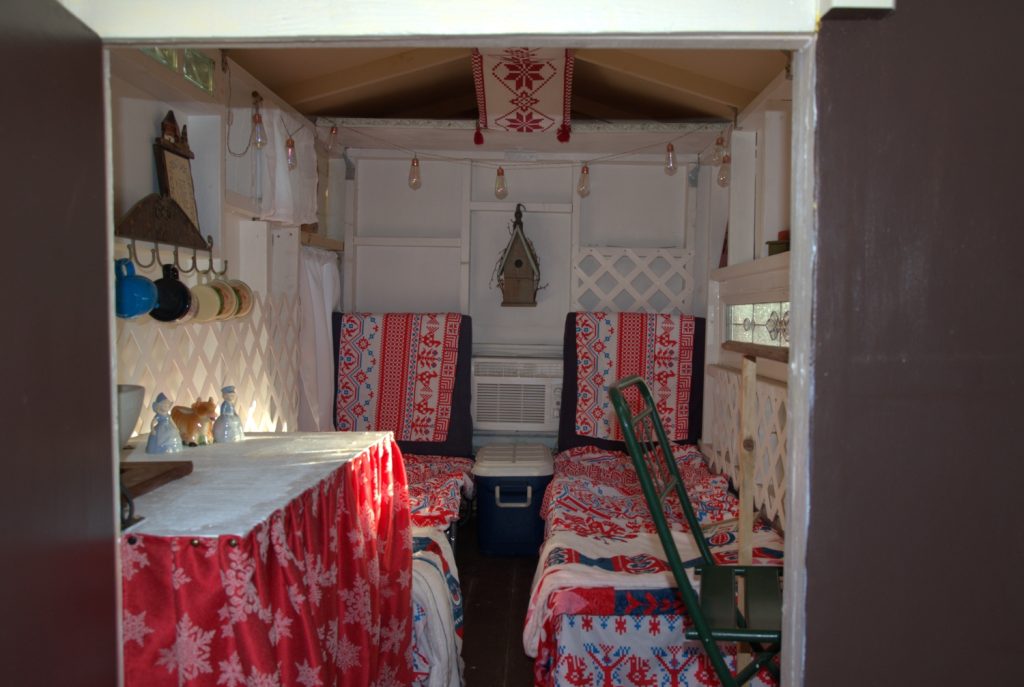
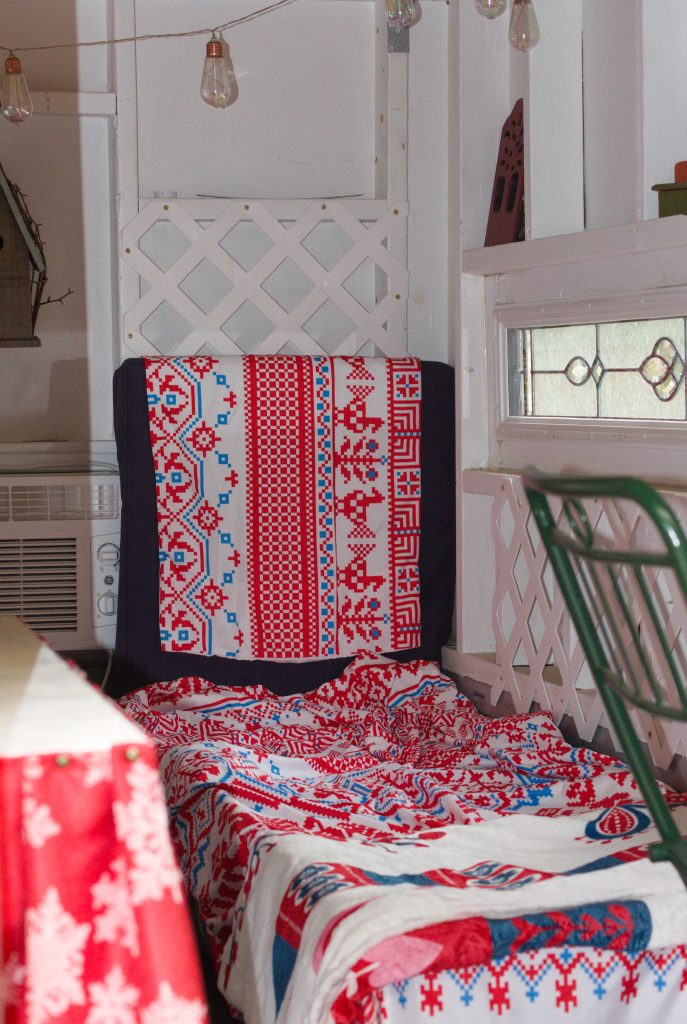
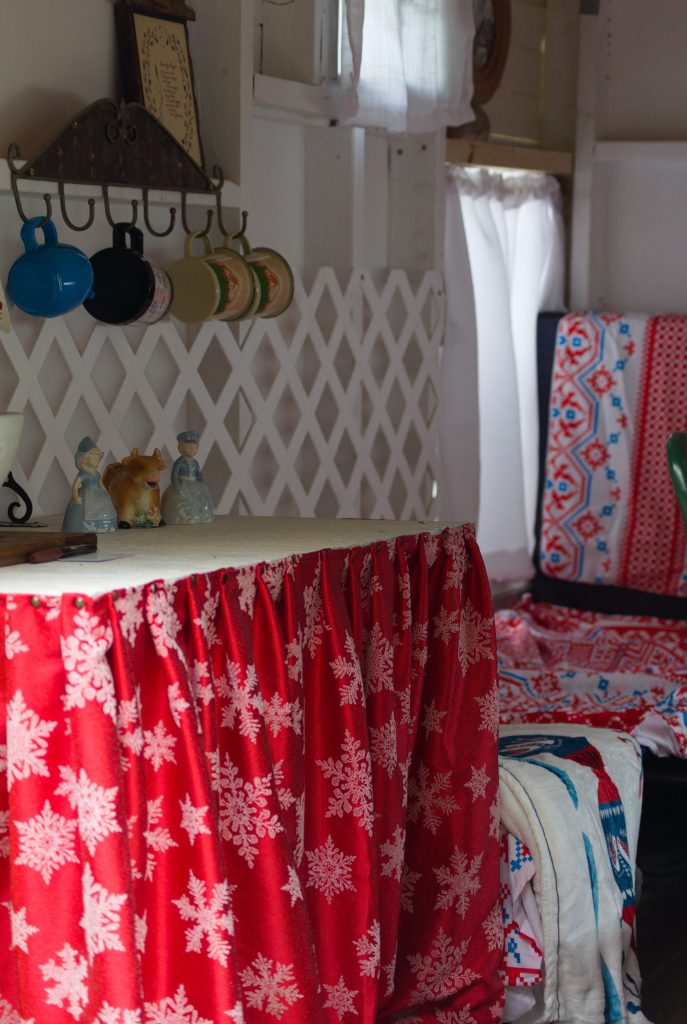
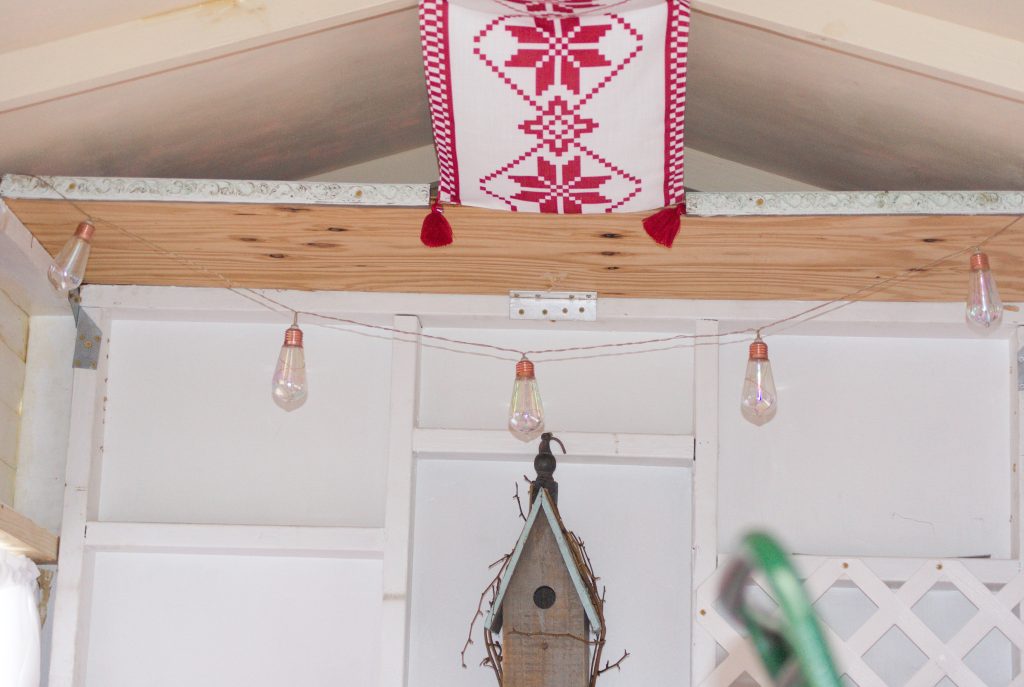
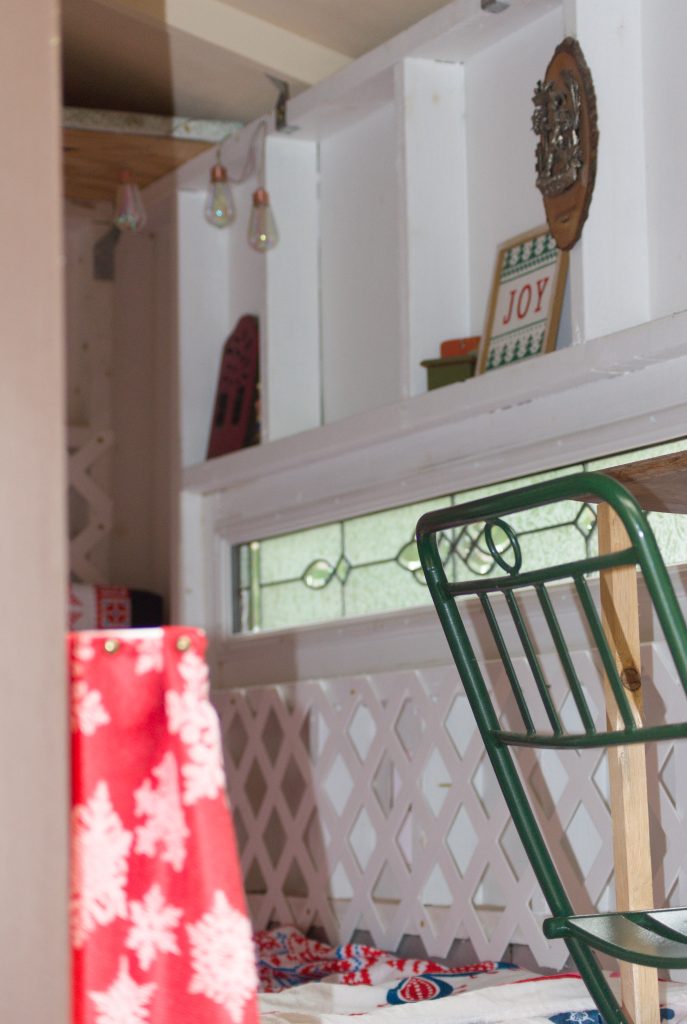
Following are recent pics of interior (Scandinavian Christmas theme subject to change on a whim). Almost done! Just need to touch up with paint here and there (especially the screw heads on the lattice and the metal hurricane straps) and put on new tires and grease the axle.


A metal grill removed from a screen door that we can put it up when the door is open to keep the dogs in.

Overhead Storage:
Small vintage cooler sitting between our two cots serves as our frig and table for playing games like chess.
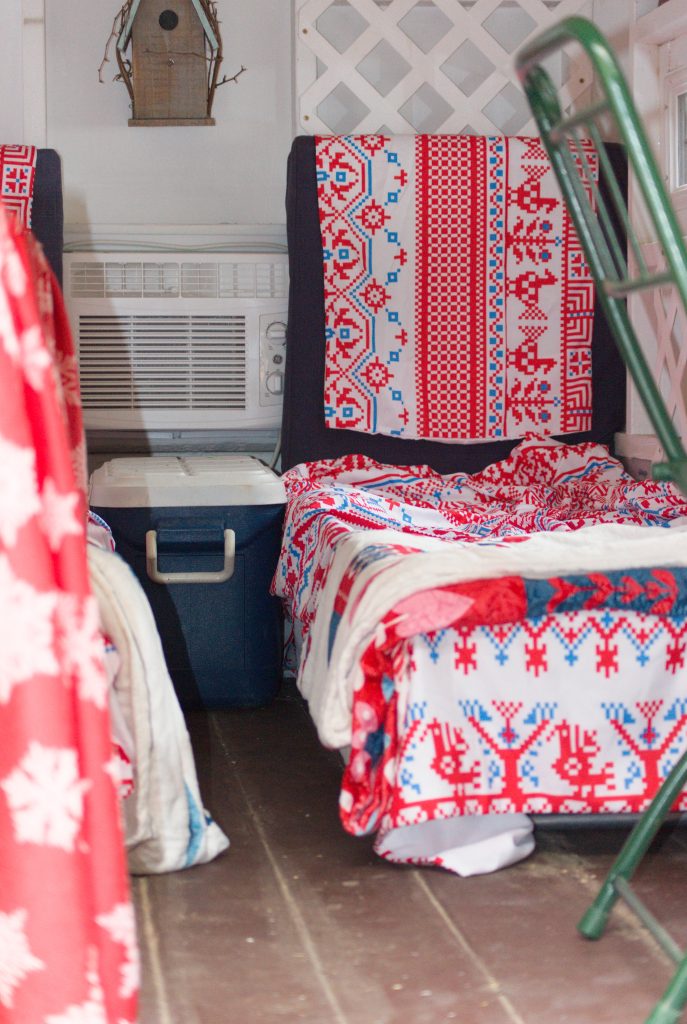
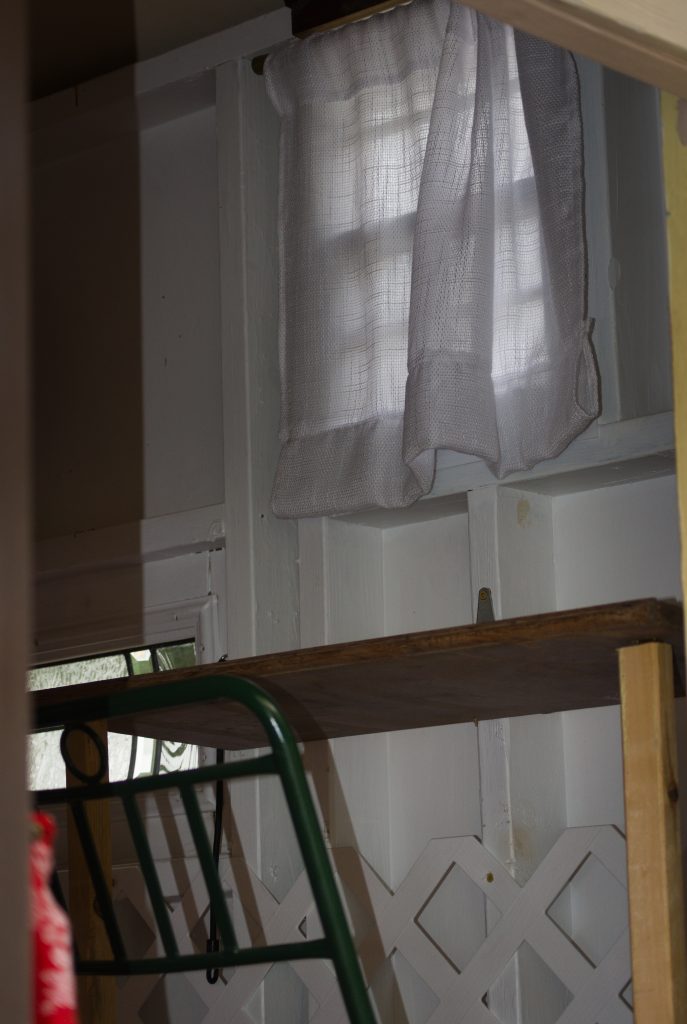
The white lattice serves as decor but it also protects the side poor boy canvas walls from our crazy dogs!
Looking forward to sitting at this fold up table on certain mornings with my coffee and The Good Book! Sometimes, if need be, we can fold up this table and bungee it to the wall to have more space for other things.
Next step is to take her on a nearby 2 night camping trip and then perhaps add a 4th window for more air circulation, and probably going to have to change theme to a tropical one soon!